Ever shot what you thought was stunning footage, only to realize in the edit bay that it’s a jittery mess? If you’re wondering how to stabilize shaky footage in post-production without fancy gear, you’re not alone. While gimbals and tripods help prevent camera shake, they’re not always within reach—especially for run-and-gun creators.
The good news? You can fix it in post. In this guide, we’ll show you simple yet effective ways to smooth out your videos so they look polished, professional, and ready to impress. Let’s dive in!
How to Stabilize Shaky Footage
1. Use Your NLE’s Built-in Video Stabilization Tools
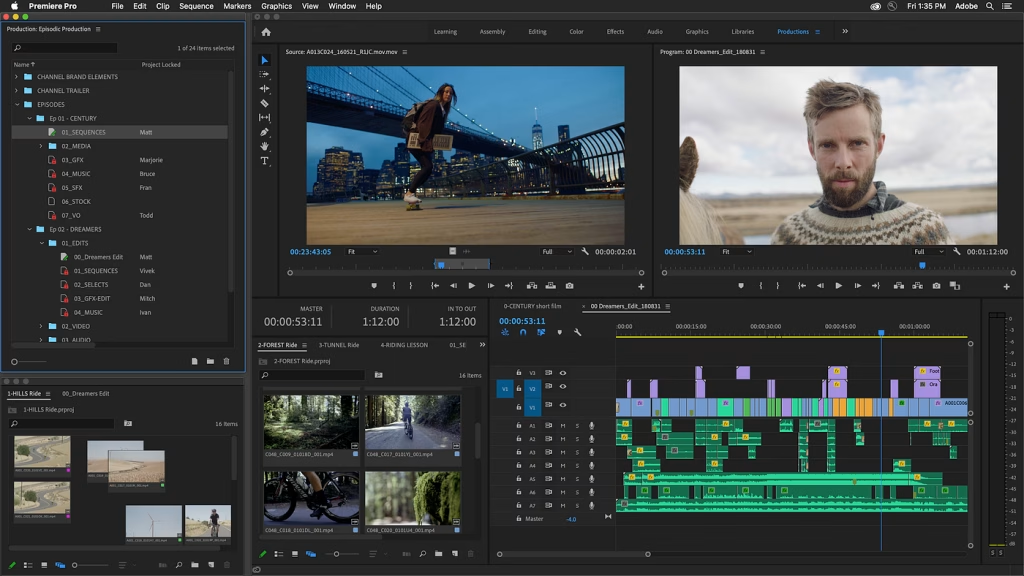
Most modern video editing applications, from Adobe Premiere Pro to Final Cut Pro, include powerful, built-in tools for stabilizing footage.

These automated stabilization features can often do an impressive job of removing unwanted camera shake, with little to no manual intervention required.
To use these tools, locate the “stabilization” or “warp stabilizer” effect in your NLE’s effects panel and apply it to your shaky clips. The software will analyze the footage and apply digital stabilization to smooth out the movement.
2. Try Third-Party Stabilization Plugins
If your video editor’s native stabilization features aren’t cutting it, consider investing in a specialized third-party plugin.

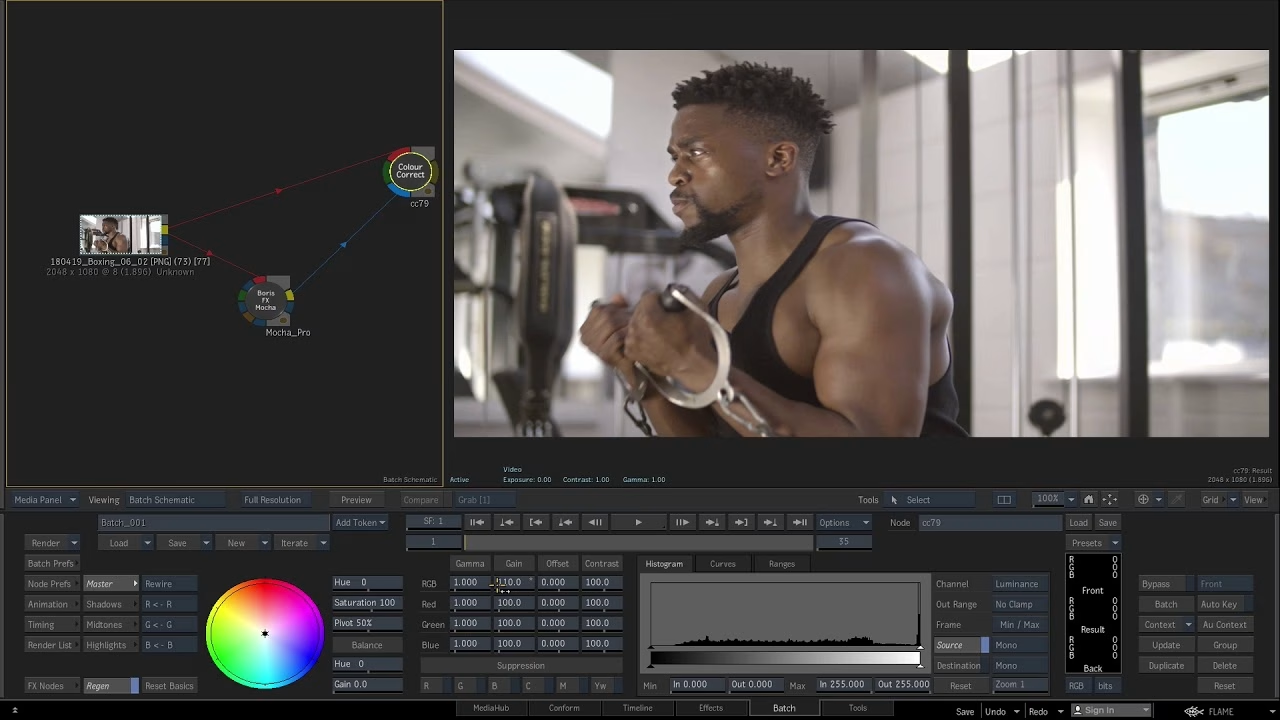
Options like Mocha Pro, Mercalli V4 SAL, and Deshaker offer advanced stabilization capabilities that can tackle even the most stubborn camera shake.
These plugins typically provide granular control over the stabilization process, allowing you to fine-tune parameters like smoothness, cropping, and rolling shutter correction. They may require a bit more setup and learning curve, but the results can be well worth it.
3. Manually Reframe and Crop Shaky Footage
For more precise control over stabilization, you can opt to manually reframe and crop your shaky footage in your video editor. This involves carefully adjusting the position and scale of your clips to counteract the camera movement.

While this method takes more time and effort than automated tools, it gives you complete creative control. You can even experiment with adding dynamic “Ken Burns” style zooms and pans to turn stabilized footage into a deliberate stylistic choice.
4. Leverage Gyroscopic Metadata (Where Available)
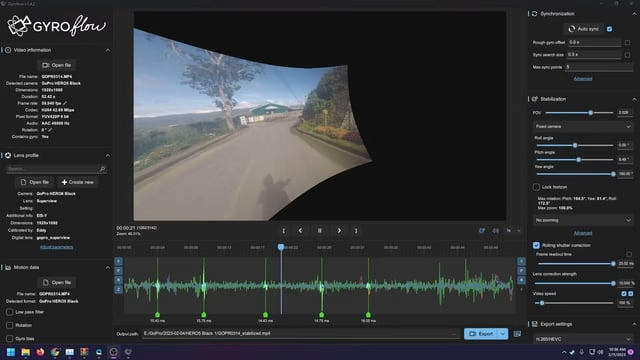
Some modern cameras and smartphones record gyroscopic sensor data alongside your video footage. This metadata can provide valuable information about the camera’s movement, which your video editor can use to stabilize the footage digitally.

If your camera supports this feature, look for settings or plugins that allow you to leverage the gyroscopic data for stabilization. This can be a powerful, hands-off way to smooth out shaky video with minimal effort.
5. Combine Techniques for Maximum Stabilization
For the best results, don’t be afraid to experiment with a combination of the above techniques. Start with your NLE’s built-in stabilization tools, then refine the effect with manual reframing, third-party plugins, or gyroscopic metadata – whatever works best for the specific footage you’re dealing with.
The key is being willing to try different approaches and finding the right balance of automation and manual control to tame that stubborn camera shake.
Final Thoughts
Shaky footage can quickly undermine even the most carefully crafted video project. But by mastering the art of post-production stabilization, you can transform wobbly, amateurish-looking shots into smooth, professional-grade footage that elevates your entire production.
Whether you rely on your video editor’s built-in tools, invest in specialized plugins, or get hands-on with manual reframing, the techniques outlined in this guide will help you conquer camera shake and deliver videos that captivate your audience from start to finish.
So, don’t let unstable footage hold your creative vision back. Put these stabilization strategies to work, and take your video productions to new heights of cinematic polish and precision.
FAQs
1. Do I need to shoot with a gimbal or tripod to avoid shaky footage?
Not necessarily. While using stabilization gear on set can certainly help prevent camera shake in the first place, it’s not a requirement. With the right post-production techniques, you can often smooth out wobbly footage captured handheld or with a less-than-ideal support system.
2. How much cropping will I have to do when stabilizing footage?
The amount of cropping required can vary quite a bit depending on the severity of the camera shake and the stabilization method you use. Automated tools like warp stabilizers typically need to crop the image somewhat to counteract the movement.
Manual reframing may require even more cropping to maintain a clean, stabilized result. Be prepared to sacrifice a bit of your original framing to achieve a smooth, stable shot.
3. Can I stabilize footage shot on a smartphone?
Absolutely! The tips and techniques covered in this guide apply equally to footage captured on smartphones and dedicated cameras alike. Many smartphones even include built-in gyroscopic data and automated stabilization features that can make the post-production process even easier.
Don’t let the consumer-grade nature of your camera gear hold you back – with the right know-how, you can stabilize shaky smartphone footage just as effectively.
Found this article helpful? Share and drop a comment 👇 about your stabilization tricks.


