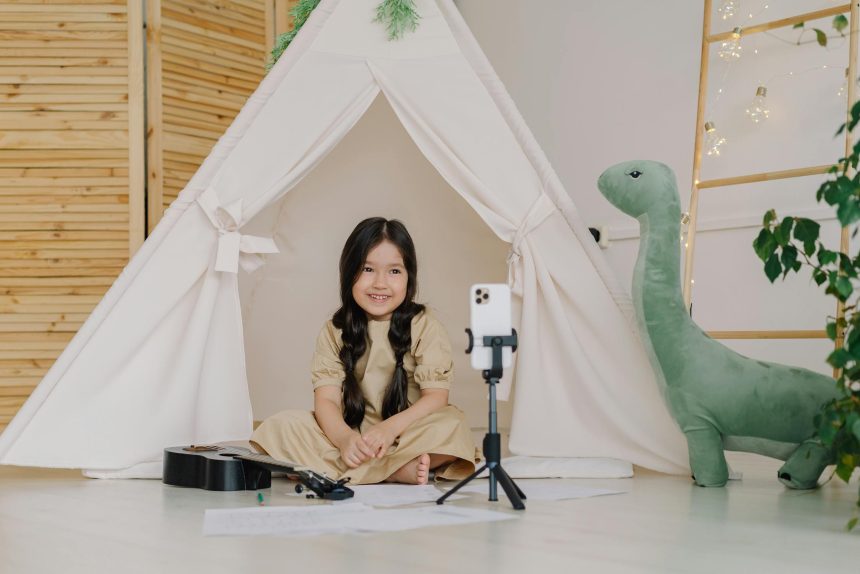
Did you know you can improve video lighting affordably with items you already have at home? It’s true — you don’t need to spend a fortune on fancy ring lights or studio setups to look amazing on camera.
In fact, some of the best lighting tricks are shockingly simple and budget-friendly.
Whether you’re a content creator, a remote worker, or just want to level up your video calls, great lighting is totally within your reach — no maxed-out credit cards required.
In this guide, I’ll show you how to create professional-looking lighting setups using smart, affordable solutions that anyone can pull off.
Understanding Video Lighting Basics
Before diving into specific solutions, let’s quickly cover the fundamentals that make any lighting setup work:
The Three-Point Lighting Concept
- Key Light: Your main light source
- Fill Light: Softens shadows created by the key light
- Back Light: Creates separation between you and the background
Understanding these basics helps you achieve better results, regardless of what equipment you’re using.
Natural Light: Your Best Free Resource
Window Light Mastery

The most effective way to improve video lighting affordably is by leveraging natural light — and it doesn’t cost a dime! Your Window is a hidden gem for creating professional-looking videos without pricey equipment. Let’s break down how to master window lighting like a pro.
Best Practices:
- Position yourself at a 45-degree angle to the window
- This setup creates soft, natural shadows that add dimension to your face, avoiding the flat, overexposed look.
- Steer clear of facing the window head-on, as it can wash out your features. Likewise, avoid backlighting unless you want a silhouette effect.
- Film during the “golden hours”
- The golden hours — early morning or late afternoon — provide a soft, warm glow that’s incredibly flattering for videos.
- Midday sunlight tends to be too harsh, so schedule your shoots when the light is more forgiving.
- Use a white foam board as a reflector
- Grab a $5 white foam board from any craft store and use it to bounce light onto the shadowed side of your face, balancing the overall lighting.
- Hold the board opposite the window, adjusting the angle until you achieve a smooth, natural glow.
- Add sheer curtains for diffusion
- Soften harsh sunlight with sheer curtains ($10-15), reducing glare and overexposure.
- No sheer curtains? A white shower curtain liner works just as well — budget-friendly and effective.
Pro Tip: I rely on window light for most of my videos. The key is consistency — light shifts throughout the day, so test your angles and timing. A soft glow at 8 AM could turn into an intense beam by noon. Experiment and find what works best for your space.
Mastering natural light is the first step to improving video lighting affordably. It’s about working with what you have, not chasing expensive gear.
DIY Lighting Solutions Under $50
1. The Desk Lamp Hack
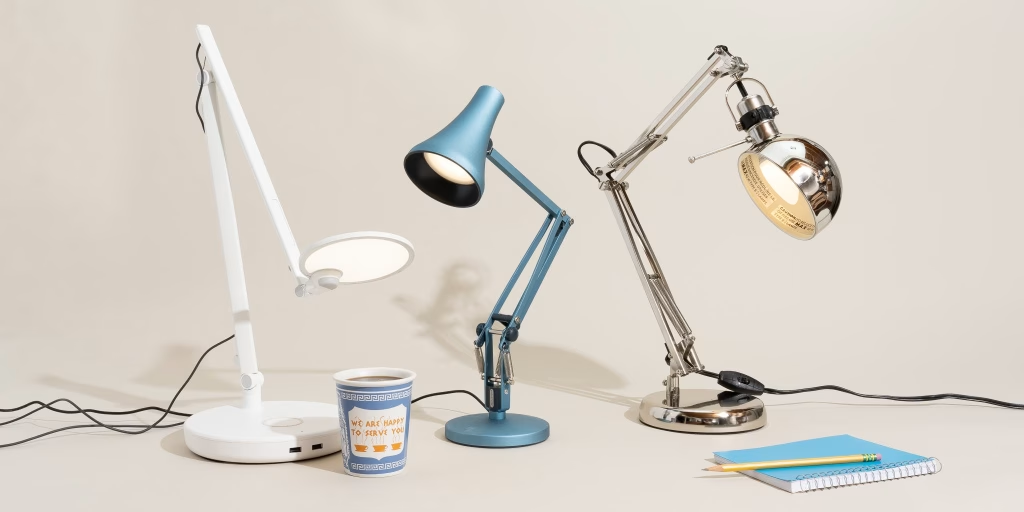
When natural light isn’t an option — maybe you’re filming at night or in a dark room — a DIY desk lamp setup can be your go-to for improving video lighting affordably. Let’s craft a budget-friendly lighting kit for under $50.
What You’ll Need:
- 2-3 adjustable desk lamps ($15-20 each)
- LED daylight bulbs (around $10 for a pack)
- White paper for diffusion (practically free)
Setup Instructions:
- Main light at face level
- Position your primary lamp at face height and angle it slightly to the side — about 45 degrees — to mimic natural light.
- This prevents a flat look and adds subtle, professional shadows.
- Fill light for balance
- Use a second lamp lower and to the opposite side of your face, softening any harsh shadows.
- If you have a third lamp, place it behind you for a backlight that separates you from the background.
- Diffuse with white paper
- Tape white paper or parchment paper 6-8 inches from each bulb.
- This simple trick softens the light and eliminates unflattering glares.
Pro Tip: Don’t be afraid to experiment with angles and distances. Lighting isn’t a one-size-fits-all solution — record short test clips to tweak your setup until it looks polished.
By using affordable desk lamps and creative hacks, you can easily improve video lighting without spending a fortune. It’s all about resourcefulness, not the size of your budget.
Discover the 10 Best YouTube Lighting Kits for 2025: Top Picks
2. The Foam Board Setup
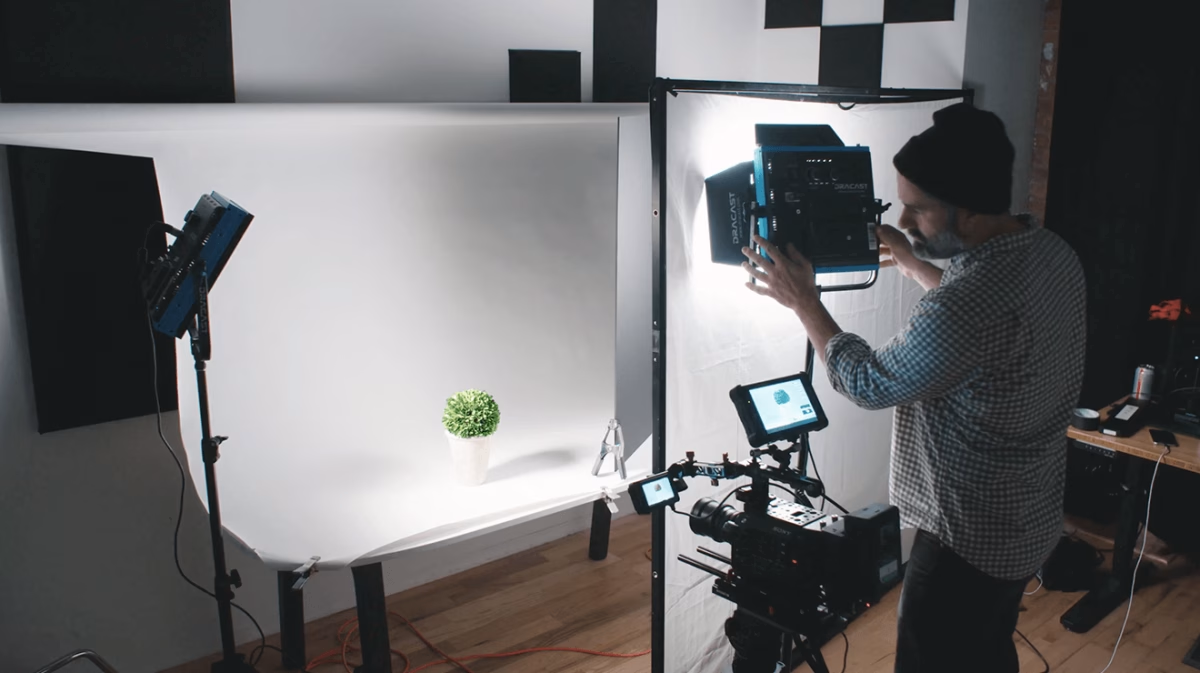
If you want an ultra-affordable way to enhance natural light, the foam board setup is a fantastic trick to improve video lighting affordably— all for under $20.
Materials Needed:
- 2-3 foam boards ($5 each)
- Clamps or stands ($10)
- Natural window light (free!)
How to Set It Up:
- Main light source
- Place your main foam board opposite the window to bounce natural light back onto your face.
- Fill light effect
- Use a second foam board at a lower angle to soften any harsh shadows.
- Background light
- Position a third board behind you to subtly reflect light onto your background, preventing it from looking too dark.
Pro Tip: If you don’t have clamps, prop the foam boards up with books or lean them against chairs — whatever works! Adjust the angles until the lighting feels soft and balanced.
This method lets you sculpt light just like expensive reflectors would, helping you improve video lighting affordably using simple, everyday items.
3. The DIY Ring Light

Want that crisp, professional glow without shelling out for an expensive ring light? Let’s build a DIY ring light for under $40 — perfect for content creators looking to improve video lighting affordably.
Components:
- LED strip lights ($15-20)
- Embroidery hoop ($5)
- Diffusion paper ($3)
- Hot glue gun (around $10 if you don’t have one)
How to Make It:
- Create the ring base
- Wrap the LED strip lights around the embroidery hoop, securing them with hot glue.
- Add diffusion
- Cut diffusion paper to size and glue it over the LED strips. This softens the light for a more natural look.
- Mount your ring light
- Attach the hoop to a stand or tripod, positioning it right in front of your camera for that signature eye-light effect.
Pro Tip: For extra flexibility, opt for LED strips with adjustable brightness — it lets you control the intensity, just like a professional ring light would.
I use this DIY ring light when I want a polished, studio-like effect without the hefty price tag. It’s proof that you don’t need to spend big to improve video lighting affordably.
Budget-Friendly Equipment Worth Buying
If you do have a small budget, here are the most bang-for-your-buck items:
1. LED Panel Lights ($20-30)
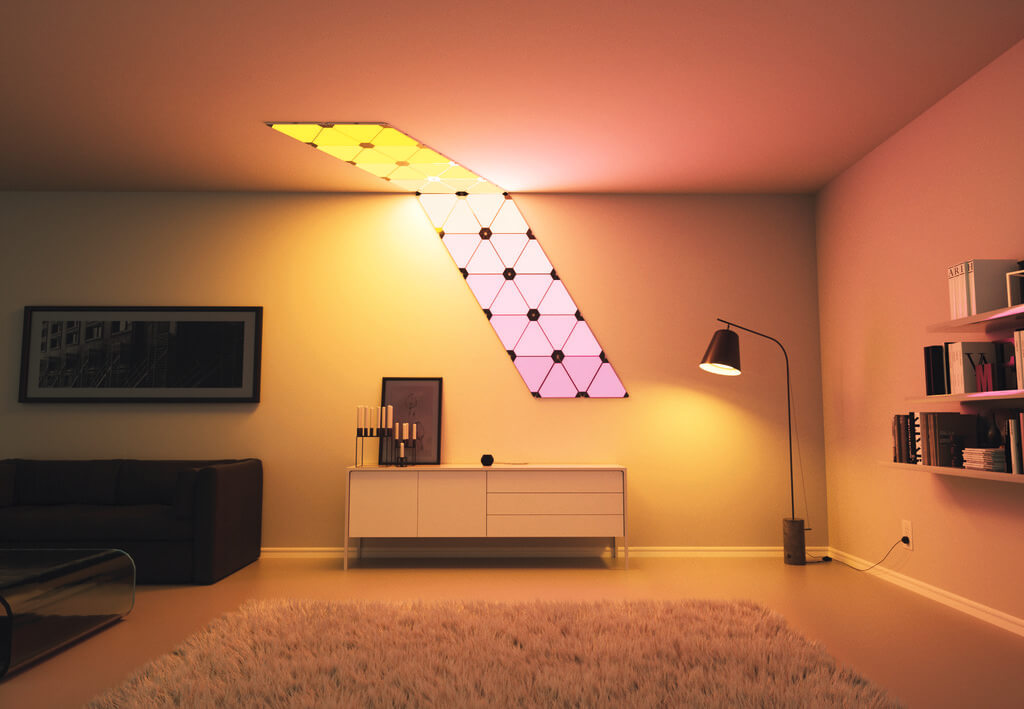
- Portable and versatile
- Battery-powered for mobility
- Adjustable brightness
- Often include warm/cool filters
2. Clamp Lights ($10-15)
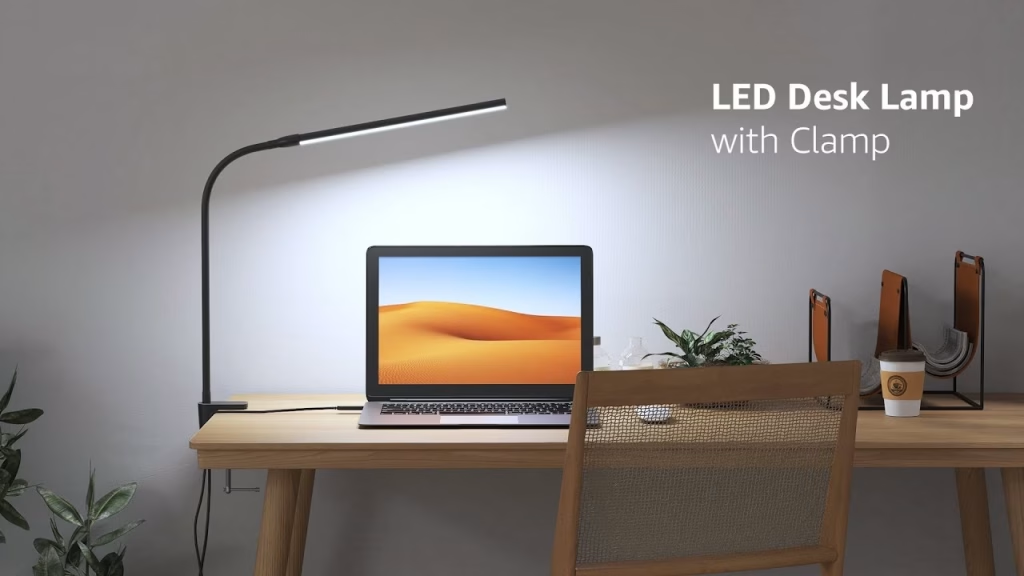
- Extremely versatile
- Can be mounted anywhere
- Works with any standard bulb
- Perfect for background lighting
3. Basic Softbox Kit ($40-50)
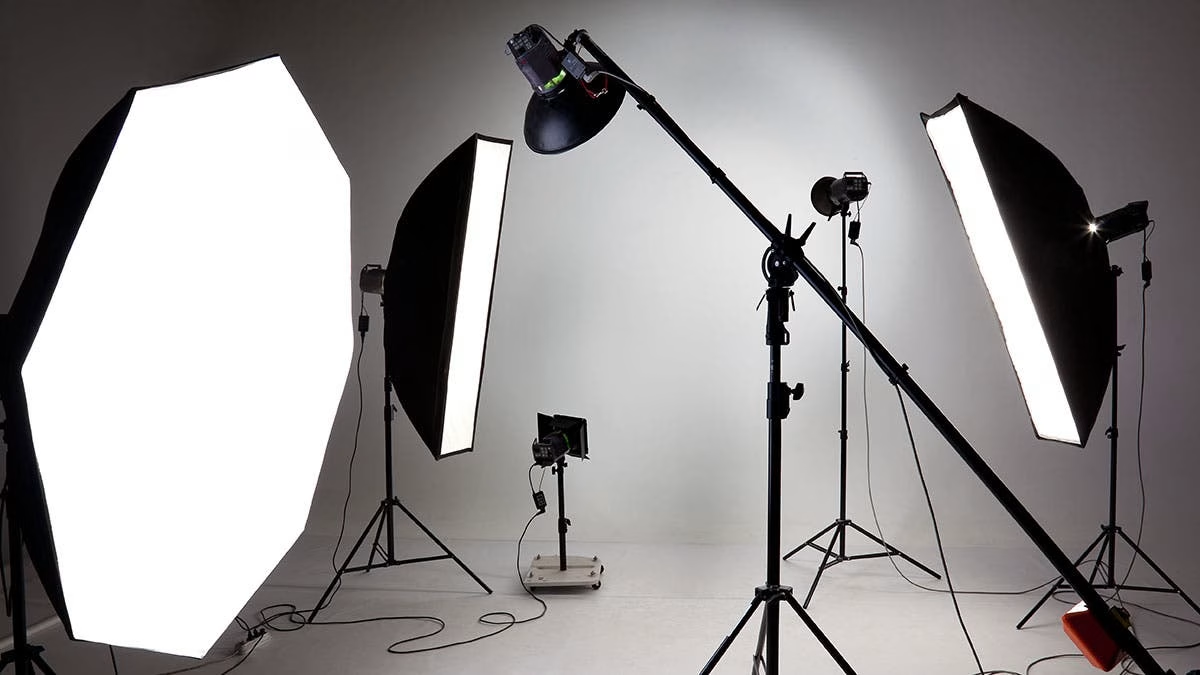
- Great for consistent lighting
- Includes stands and diffusion
- Professional look on a budget
Clever Lighting Tricks That Cost Nothing
Improving video lighting affordably doesn’t always mean spending money — sometimes, all it takes is creativity and smart adjustments. Here’s how you can elevate your lighting game for free:
1. Strategic Positioning
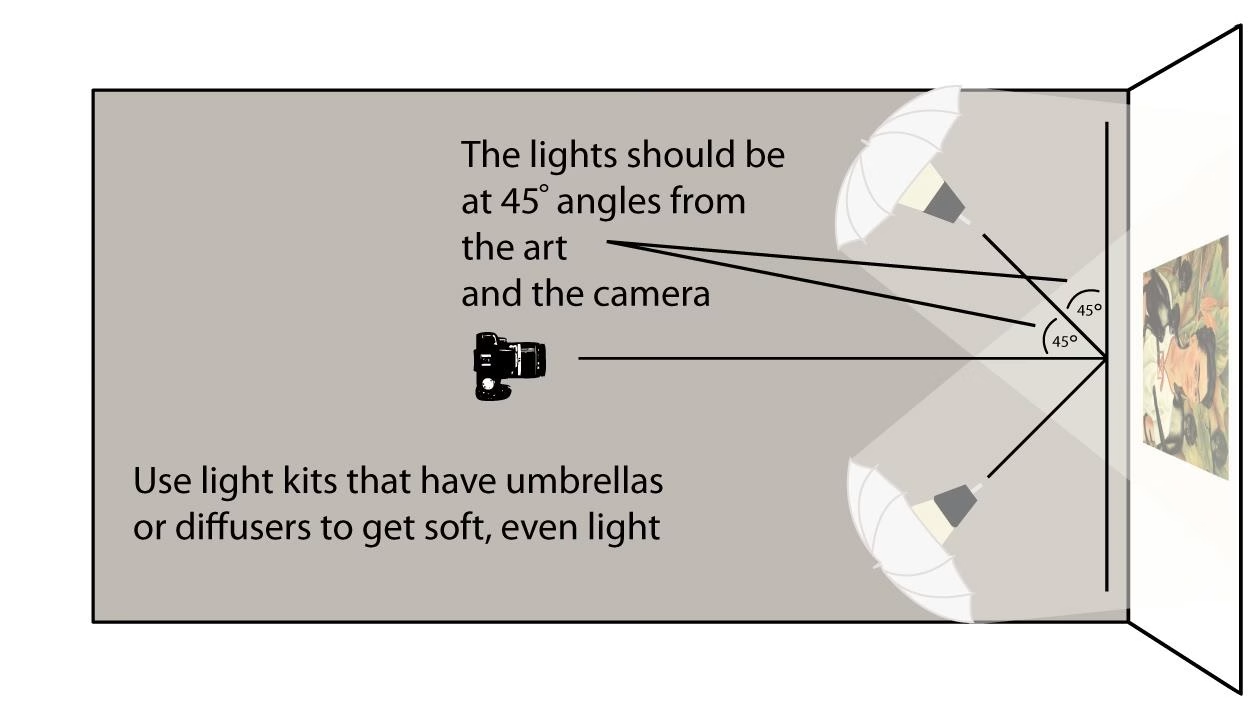
- Face towards bright areas: Always position yourself so the brightest light source (like a window or overhead light) is in front of you. This ensures even, flattering lighting on your face.
- Avoid backing up to windows: Backlighting can cause you to appear as a dark silhouette. Instead, let the light hit your face or bounce off a nearby wall.
- Use white walls as natural reflectors: If you have a plain white or light-colored wall, use it to bounce light back onto your face — it works like a free softbox, softening harsh shadows.
2. Camera Settings Optimization
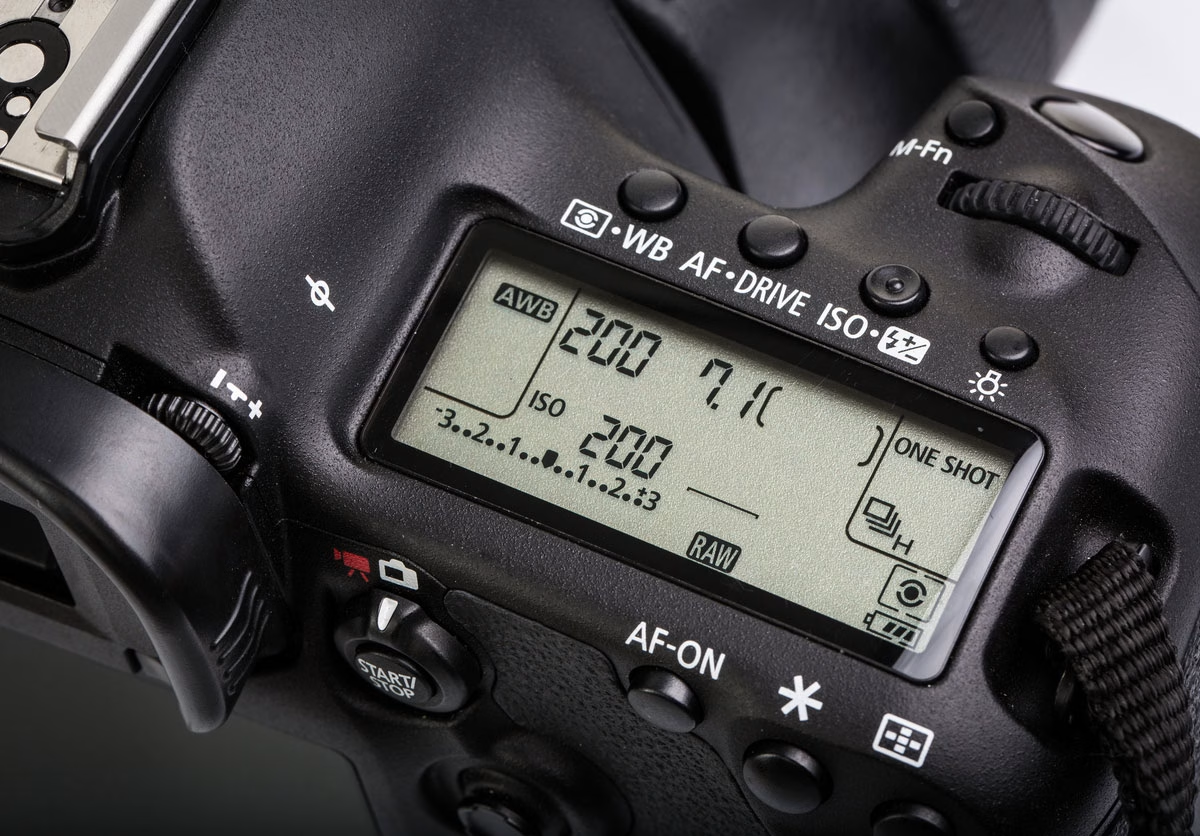
Your camera can do more than you think! Tweak these settings to improve video lighting without spending a dime:
- Adjust white balance: Ensure your whites look white — not too yellow or blue. This makes your entire scene look more professional.
- Play with exposure settings: Increase or decrease exposure to brighten or darken your shot until you hit the sweet spot.
- Use built-in filters wisely: Many cameras and smartphones offer basic filters. A subtle brightness or contrast boost can fix flat lighting, but avoid overdoing it — you want natural, not over-processed.
3. Room Arrangement

Your room setup directly impacts your video lighting. A few clever tweaks can transform the quality of your shots:
- Paint walls in light colors: If you have control over your space, light-colored walls bounce light more effectively, preventing dark, shadowy backgrounds.
- Remove glass or reflective items from your background: Unwanted reflections can cause glare and visual distractions. Swap out shiny objects for matte decor or soft fabrics.
- Position your desk strategically: Angle your desk so that light sources hit you from the front or side, never directly from behind. This simple move can instantly enhance your on-camera presence.
By mastering these no-cost lighting tricks, you’re proving that you don’t need fancy equipment to achieve pro-level video quality. It’s all about smart adjustments, resourcefulness, and creativity.
Common Lighting Problems and Solutions
Even with affordable setups, lighting issues can pop up — but there’s always a fix. Let’s tackle some common problems and budget-friendly solutions.
Problem #1: Harsh Shadows
Why it happens: A single, strong light source creates sharp, unflattering shadows.
Budget Solutions:
- Hang a white sheet as a diffuser ($5): Drape it between your light source and yourself to soften shadows.
- Use multiple lower-powered lights: Spreading out the light helps eliminate harsh contrasts.
- Bounce light off walls or the ceiling: This scatters the light evenly and gives a more natural look.
Problem #2: Unflattering Light
Why it happens: Lights placed too low or too close can create an unflattering, eerie effect.
Quick Fixes:
- Raise light sources above eye level: This mimics natural light, casting soft shadows under your chin rather than over-exposing your face.
- Add distance between you and your lights: Move lights further back for a gentler glow.
- Use bounce cards for fill light: White foam boards can reflect light onto your face, evening out any harshness.
Problem #3: Inconsistent Lighting
Why it happens: Changing natural light or mixed lighting sources causes unpredictable shifts in your video’s look.
Budget Remedies:
- Block unwanted light sources: Cover windows or turn off unnecessary lamps to control your lighting.
- Create permanent setup marks: Tape or mark spots for your lights and camera to ensure consistency every time you film.
- Use consistent camera settings: Set manual controls for exposure and white balance — avoid auto mode to prevent sudden changes.
Advanced Tips for Better Video Lighting
Once you’ve mastered the basics, level up with these pro tricks — all still on a budget for improving video lighting affordably or cheaply.
1. Color Temperature Mastery
- Match all light sources: Aim for 5600K daylight bulbs for a consistent, natural look.
- Use the white paper test: Hold up a sheet of paper — if it looks too yellow or blue, adjust your lights or camera settings.
- Learn basic color correction: Free apps like DaVinci Resolve can help fine-tune colors in post-production.
2. Background Lighting
- Create depth with subtle highlights: Light your background slightly dimmer than yourself (1-2 stops lower) to add separation.
- Use Christmas lights for bokeh effects: A string of warm LED lights can create a beautiful, glowing backdrop.
- Experiment with practical lights: Small lamps or candles in the background add ambiance and dimension.
3. Mobile Phone Lighting Tricks
- Use a second phone as a light source: Adjust the screen brightness or use a white screen to mimic a soft light.
- Download free lighting apps: Apps like Soft Light or Flashlight HD can turn your phone into a handy key light.
- Enable HDR mode: This balances shadows and highlights for smoother lighting in your videos.
Recommended Tools and Apps
Level up without breaking the bank! Here are some must-have tools and apps to optimize and improve your video lighting setup affordably.
Light Meter Apps (Free):
- Lux Light Meter (Android)
- Light Meter (iOS)
- Pocket Light Meter (Both)
Video Recording Apps with Lighting Features:
- FiLMiC Pro ($14.99): Advanced video controls, including focus peaking and color correction.
- ProCam 8 ($7.99): Manual lighting adjustments for iPhone users.
- Open Camera (Free, Android): This is Great for manual controls and exposure locking.
Essential Accessories Under $20:
- White foam board: Reflects and softens light.
- Binder clips: To hold diffusion sheets or bounce cards in place.
- Aluminum foil: This adds a strong reflective surface for dramatic lighting.
- Shower curtain: A large, cheap diffuser for bigger light sources.
Measuring Success: Before and After
Wondering if your lighting setup is working? Use this quick checklist to evaluate your progress:
- ✅ Skin looks natural, not washed out
- ✅ Eyes have catchlights (small, bright reflections for a lively appearance)
- ✅ Background is properly separated (you stand out clearly, without blending in)
- ✅ No harsh shadows on your face
- ✅ Consistent color temperature throughout the shot
By keeping these strategies in mind, you’ll not only improve video lighting affordably but also create professional, eye-catching content — all without breaking the bank.
FAQs
1. What’s the absolute minimum lighting setup I need?
The bare minimum for good video lighting is:
- One reliable light source (window or lamp)
- A white foam board reflector to bounce light evenly
- Basic light positioning skills — keeping the light in front or at a 45-degree angle
This setup can cost as little as $5 (just the foam board if you’re using natural light) and still produce professional-looking results.
2. Can I use regular house lights for the video?
Yes, but with some smart modifications:
- Swap out bulbs for daylight LEDs (around 5600K for a natural look)
- Add diffusion using white paper or a shower curtain to soften the light
- Position lamps strategically to avoid harsh shadows
- Use the same bulb type throughout to maintain consistent color temperature
3. How do I light videos at night without professional lights?
You can still create great lighting at night with these tricks:
- Desk lamps with daylight bulbs make perfect key lights
- DIY softboxes using boxes and white paper help diffuse harsh light
- Small LED lights (like fairy lights) add depth and background interest
- Layer household lamps to mimic a multi-point lighting setup
4. What’s the best lighting for dark skin tones on a budget?
Key considerations for flattering, balanced lighting:
- Use slightly brighter fill lights to highlight natural features
- Position lights closer to the subject for more control over shadows
- Soften the key light to avoid overexposure
- Experiment with warm reflectors (gold or purple) for a glowing effect
5. How can I maintain consistent lighting between videos?
Ensure every video looks polished with a repeatable setup:
- Mark light and camera positions with tape
- Snap reference photos of your setup
- Record camera settings for exposure and white balance
- Film at the same time of day if using natural light
- Stick with the same bulbs and lights for consistency
6. What’s the best way to diffuse harsh light cheaply?
Affordable diffusion solutions include:
- White shower curtain ($5-10)
- Parchment paper ($3)
- White bed sheet ($10)
- Tissue paper ($2)
- Frosted contact paper ($8)
Remember, great lighting doesn’t require expensive gear — it thrives on creativity, resourcefulness, and a solid understanding of how light works. Your audience will notice the quality, not the price tag.ng and creativity. Start with these basics, experiment with what you have, and upgrade only when necessary.
Your viewers probably won’t know the difference between a $500 light and a well-positioned $15 desk lamp!
Want more video creation tips? Don’t forget to subscribe to the newsletter for weekly updates and insider tricks for creating professional-looking content on a budget!

