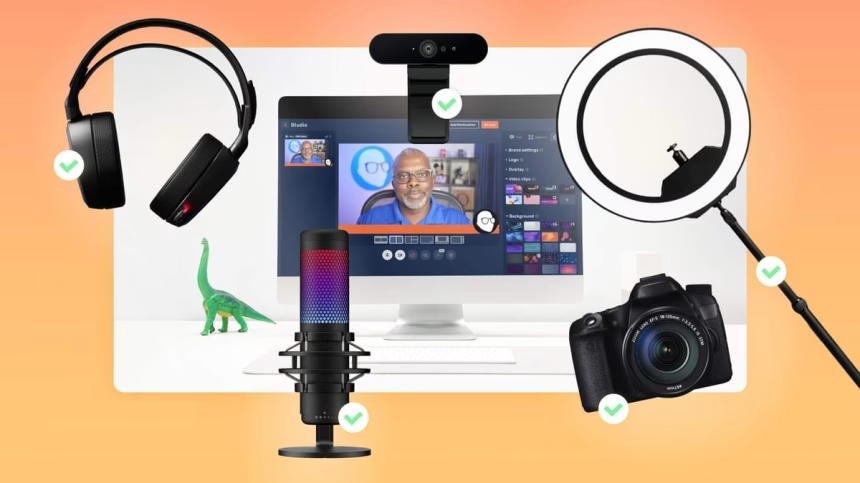
A professional live-streaming setup is one of the biggest factors in creating a smooth, high-quality stream that keeps viewers coming back. Whether you’re streaming on Twitch, YouTube, TikTok, or Facebook Gaming, the right gear and setup can make a huge difference in your overall experience.
According to StreamLabs’ 2024 State of Streaming report, 71% of viewers will leave within the first two minutes if they run into technical issues—things like bad audio, lag, or blurry video. That’s why having a solid setup isn’t just a nice-to-have; it’s essential.
In this guide, I’ll walk you through exactly what you need to build a professional livestreaming setup in 2025. Whether you’re starting from scratch or upgrading your current setup, you’ll get real-world recommendations, expert insights, and practical tips to make your streams look and sound amazing.
Let’s dive in!
Choosing the Right Equipment
The right gear doesn’t just improve your stream—it transforms it. From crisp visuals to studio-quality sound, every piece of equipment plays a role in keeping your audience hooked. But with so many options, how do you choose what’s best for you?

Let’s break it down so you can build a setup that looks and sounds truly professional.
Cameras: The Visual Foundation
The camera is perhaps the most crucial piece of hardware in your professional live-streaming setup, as it determines the visual quality of your content.

Today, streamers have more options than ever before, spanning a wide range of price points and capabilities.
Types of Cameras for Live Streaming
Webcams: The entry point for many streamers
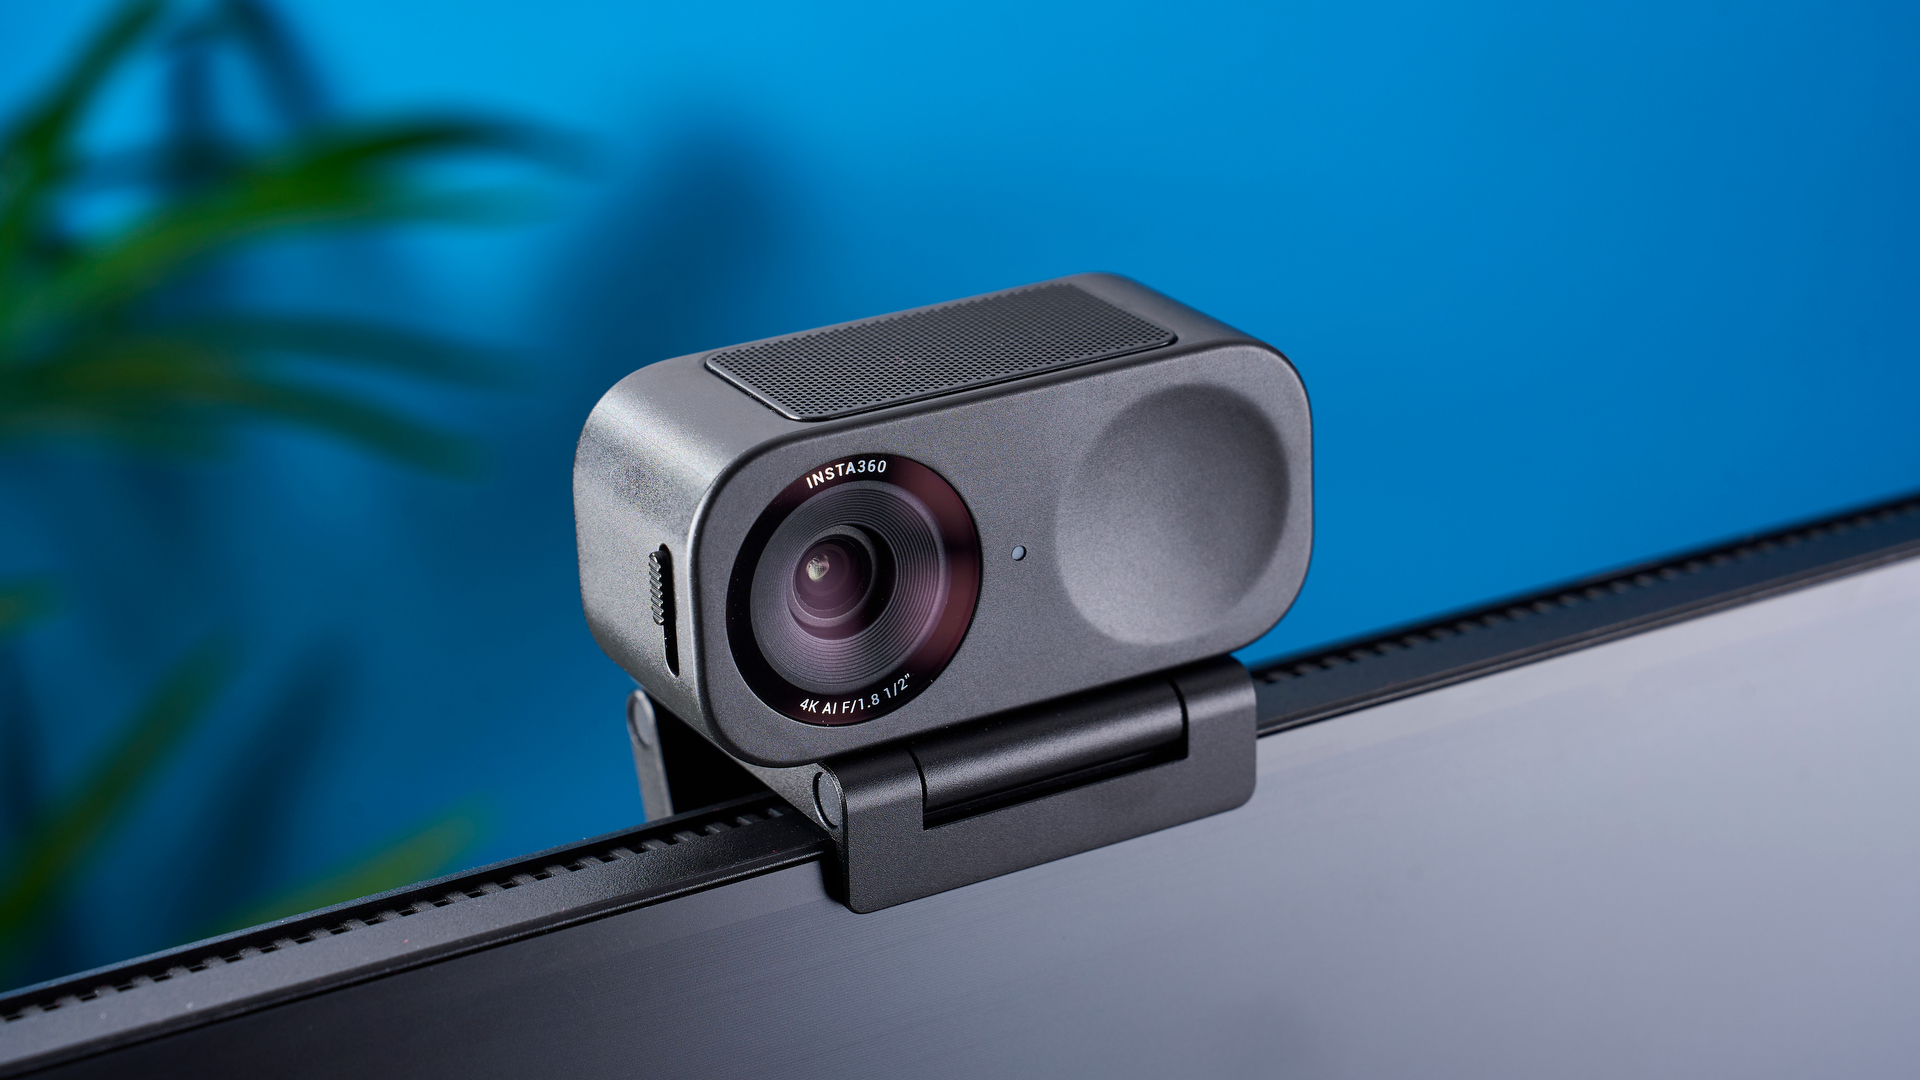
- Pros: Affordable, easy to set up, plug-and-play functionality
- Cons: Limited image quality and controls compared to dedicated cameras
- Best for: Beginners, casual streamers, or as a secondary camera
Mirrorless Cameras: The sweet spot for most professional streamers

- Pros: Excellent image quality, interchangeable lenses, professional features
- Cons: More expensive, requires additional accessories for streaming
- Best for: Content creators who want high-quality video without the bulk of DSLRs
DSLR: Traditional powerhouse for video capture
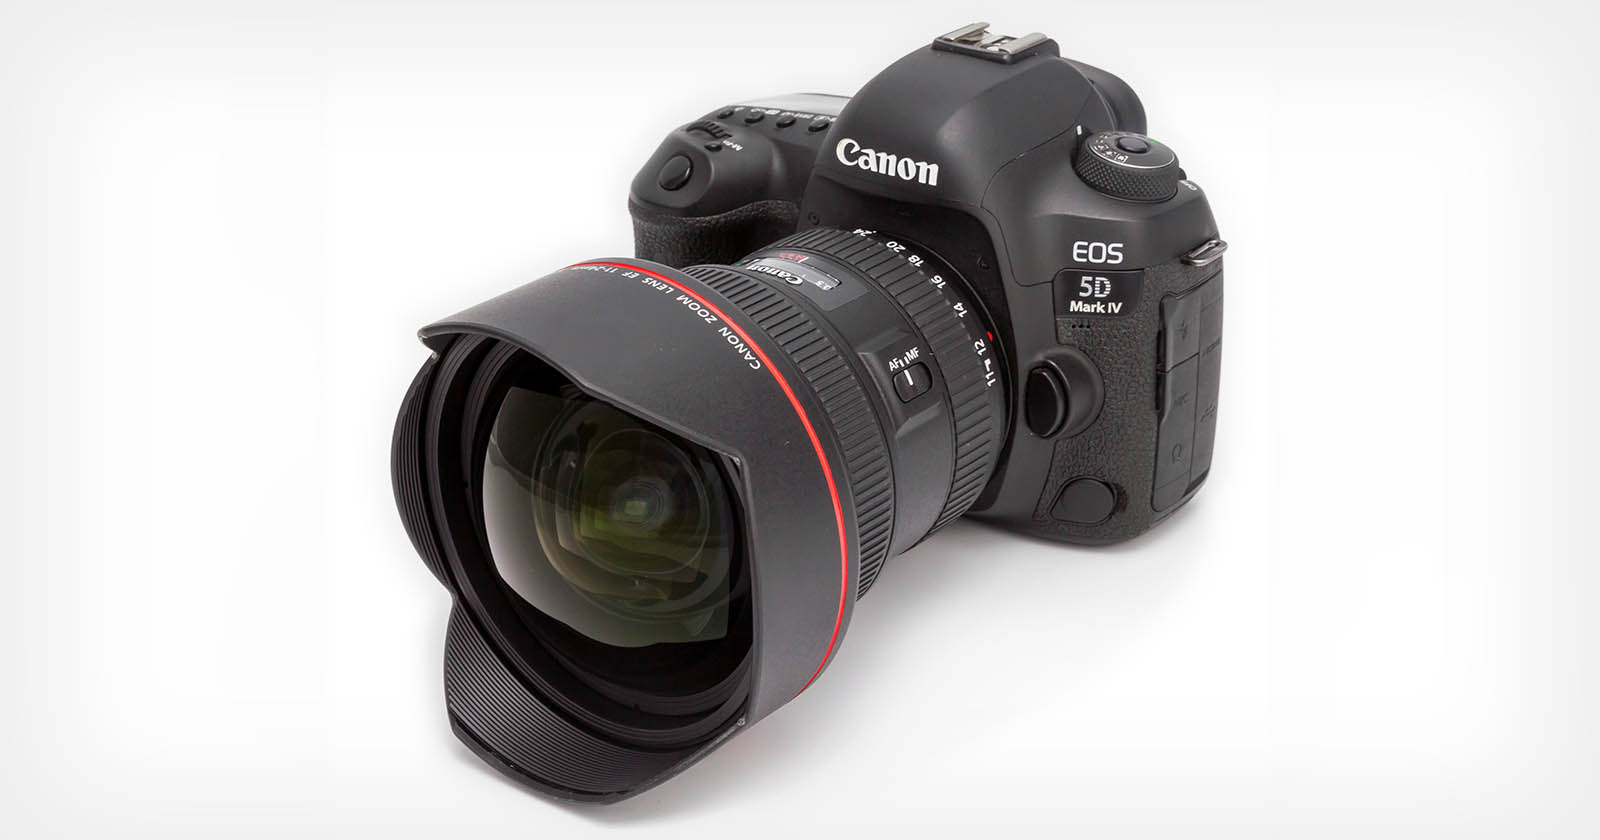
- Pros: Exceptional image quality, lens options, full manual controls
- Cons: Bulkier than mirrorless, can have recording time limitations
- Best for: Streamers who need maximum control and quality
Action Cameras: For on-the-go or specialized streaming
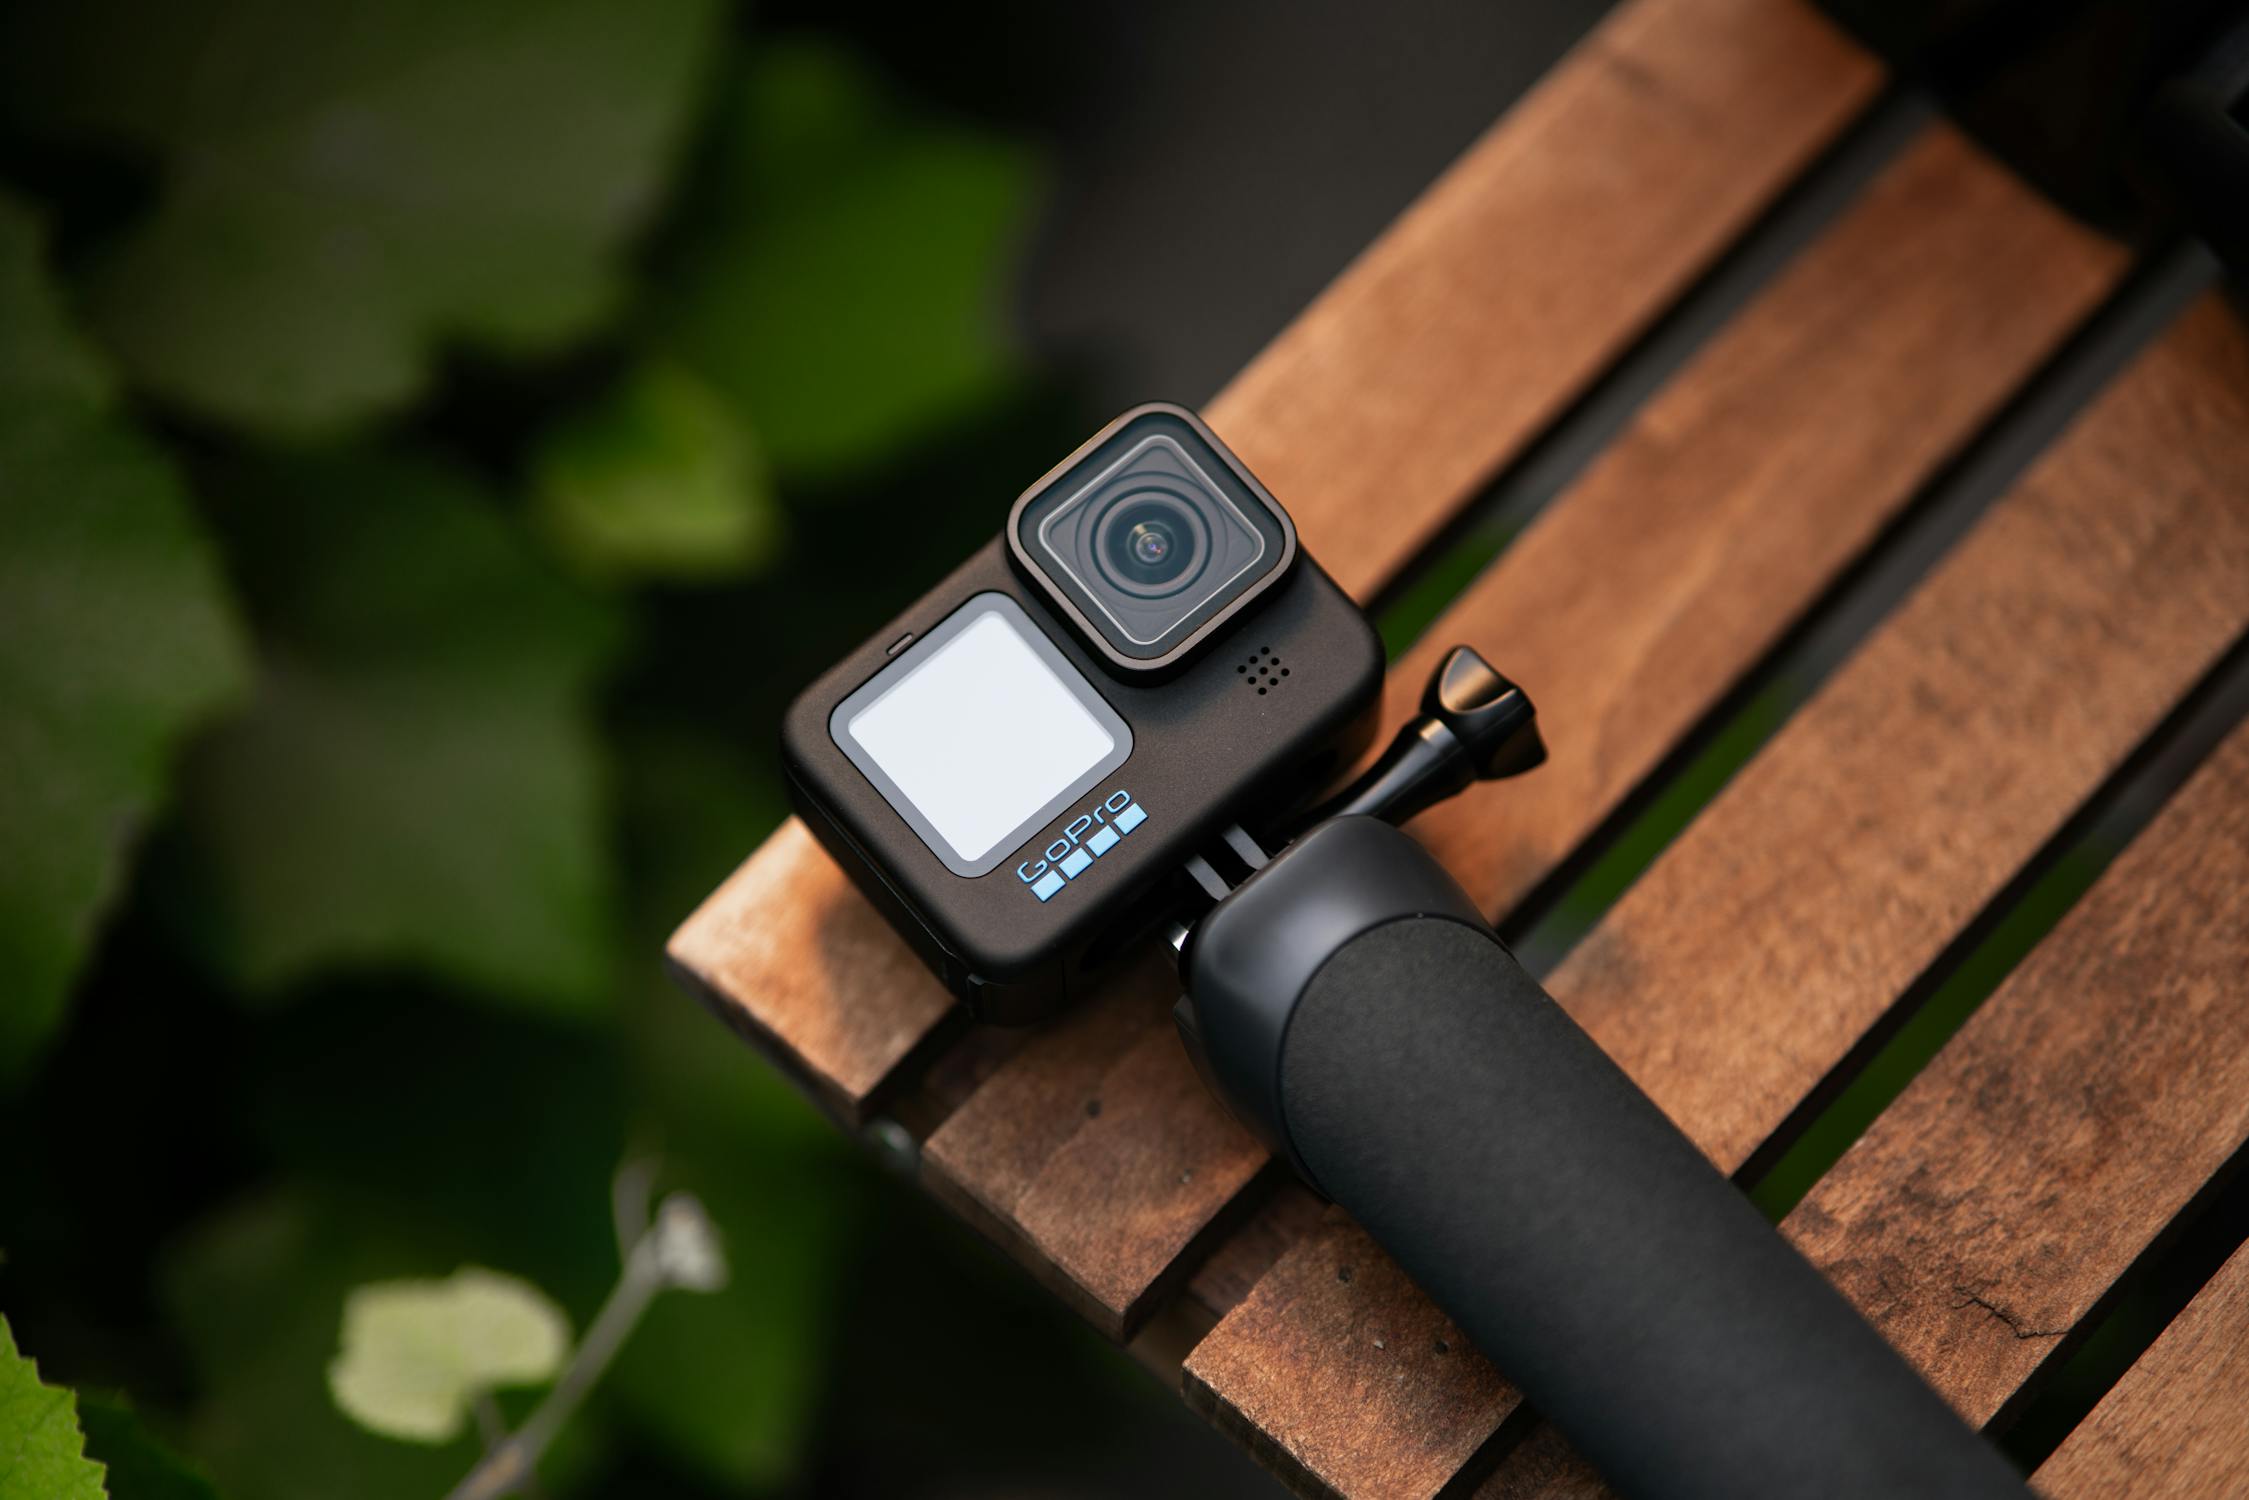
- Pros: Compact, durable, wide-angle view
- Cons: Fixed lens, limited controls
- Best for: Outdoor or movement-heavy streams
Smartphone Cameras: Surprisingly capable modern option

- Pros: Convenient, high-quality on newer models, portable
- Cons: Limited controls, battery life concerns
- Best for: Mobile streaming, secondary angles, or getting started
Recommended Cameras for 2025
Budget-Friendly Options ($50-200):
Personal Tip: The Logitech C920x continues to be my go-to recommendation for beginners. For about $69, you get 1080p quality that still holds up remarkably well today, especially with good lighting.
Mid-Range Options ($200-600):
- Sony ZV-E10
- Canon EOS Rebel T7 DSLR Camera
- GoPro HERO12 Black (for action streams)
Professional Options ($600+):
Looking to start Vlogging on a budget? Explore 10 Best Cameras for Vlogging Under $1000
Features to Consider
When selecting a camera for your professional live-streaming setup, pay attention to these key specifications:
✅ Resolution: While 4K is now standard for many cameras, most streaming platforms still broadcast at 1080p. However, shooting in 4K gives you room to crop and adjust your frame without losing quality.
✔️ Frame Rate: 30fps is sufficient for most content, but 60fps provides smoother motion, especially important for gaming or fast-moving subjects.
✅ Low-Light Performance: Look for cameras with larger sensors and good ISO performance if you’ll be streaming in less-than-ideal lighting conditions.
✔️ Field of View: Consider how much of your space you want visible in the frame. Wider angles show more background, while narrower angles focus more on you.
✅ Connectivity: Ensure your camera can output clean HDMI (without on-screen information) if using a capture card.
Microphones
While viewers might forgive occasional video issues, poor audio quality is usually a deal-breaker. Your audience may not consciously notice good audio, but they’ll notice bad audio—and they’ll leave because of it.
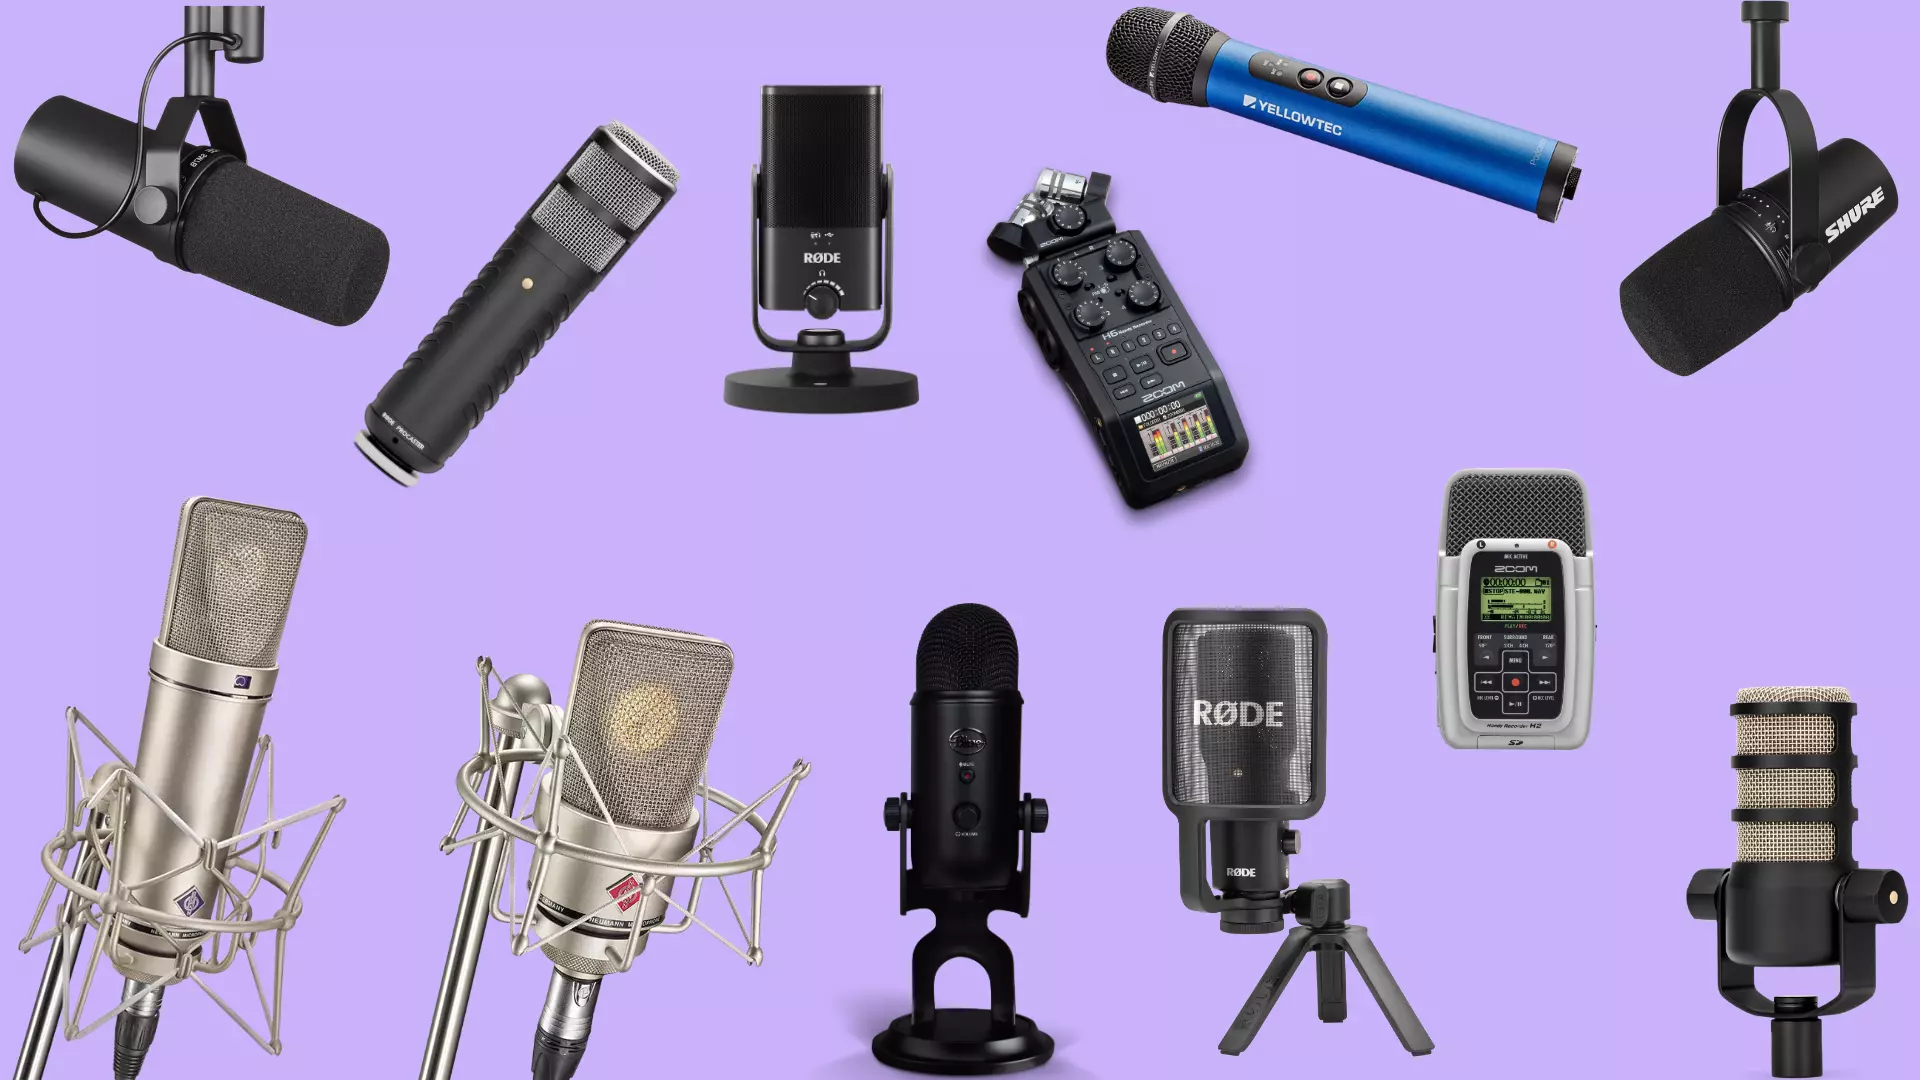
In your professional live-streaming setup, investing in quality audio should be a top priority.
Types of Microphones for Streaming
USB Microphones
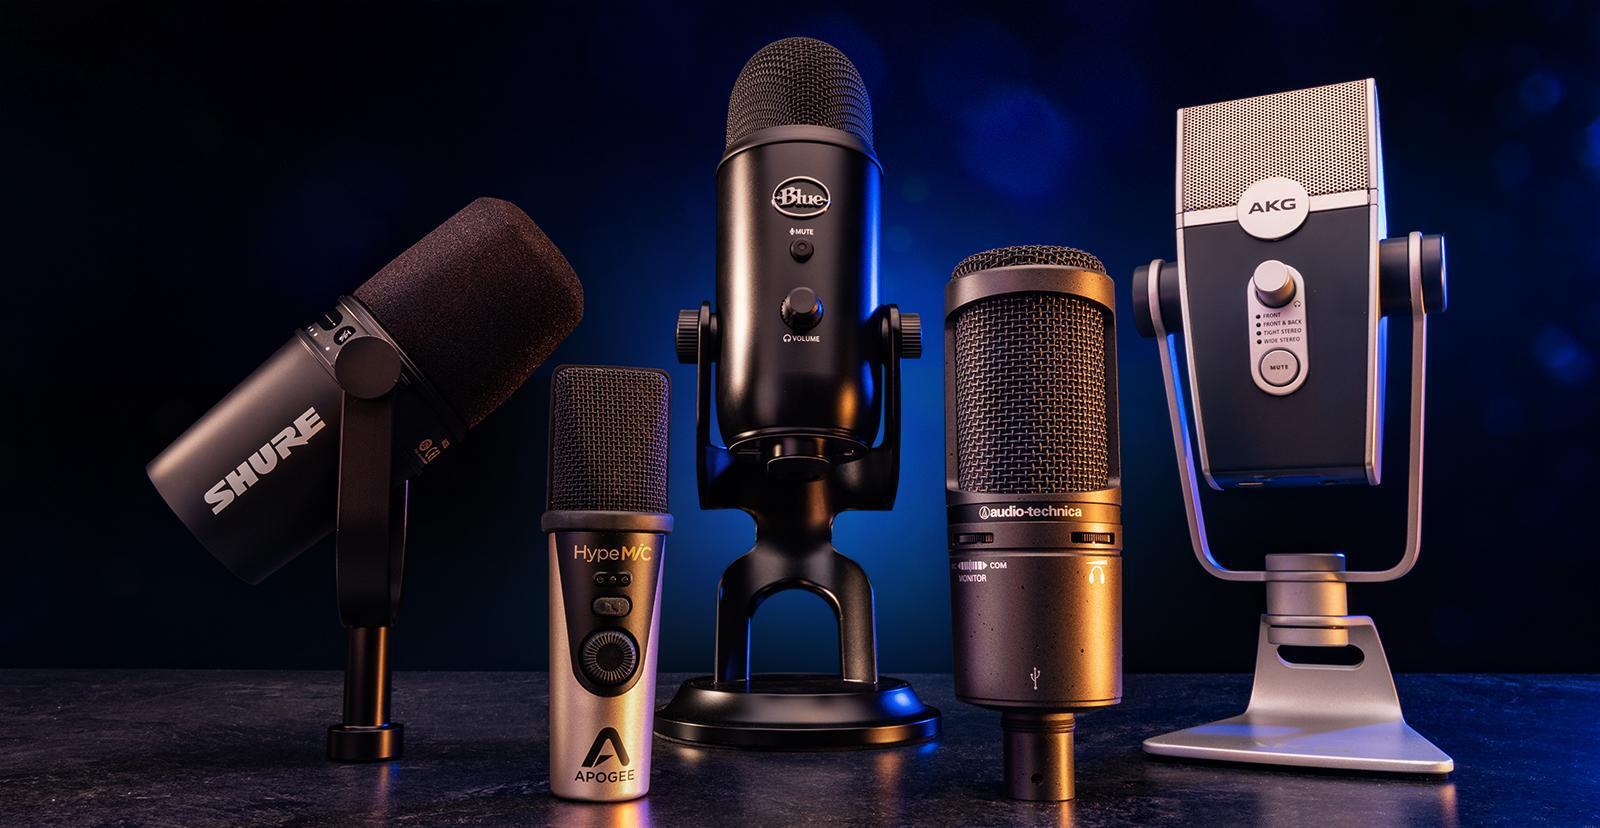
- Pros: Simple plug-and-play setup, affordable options available
- Cons: Limited customization, cannot typically be upgraded
- Best for: Beginners, solo streamers, and those with limited desk space
XLR Microphones
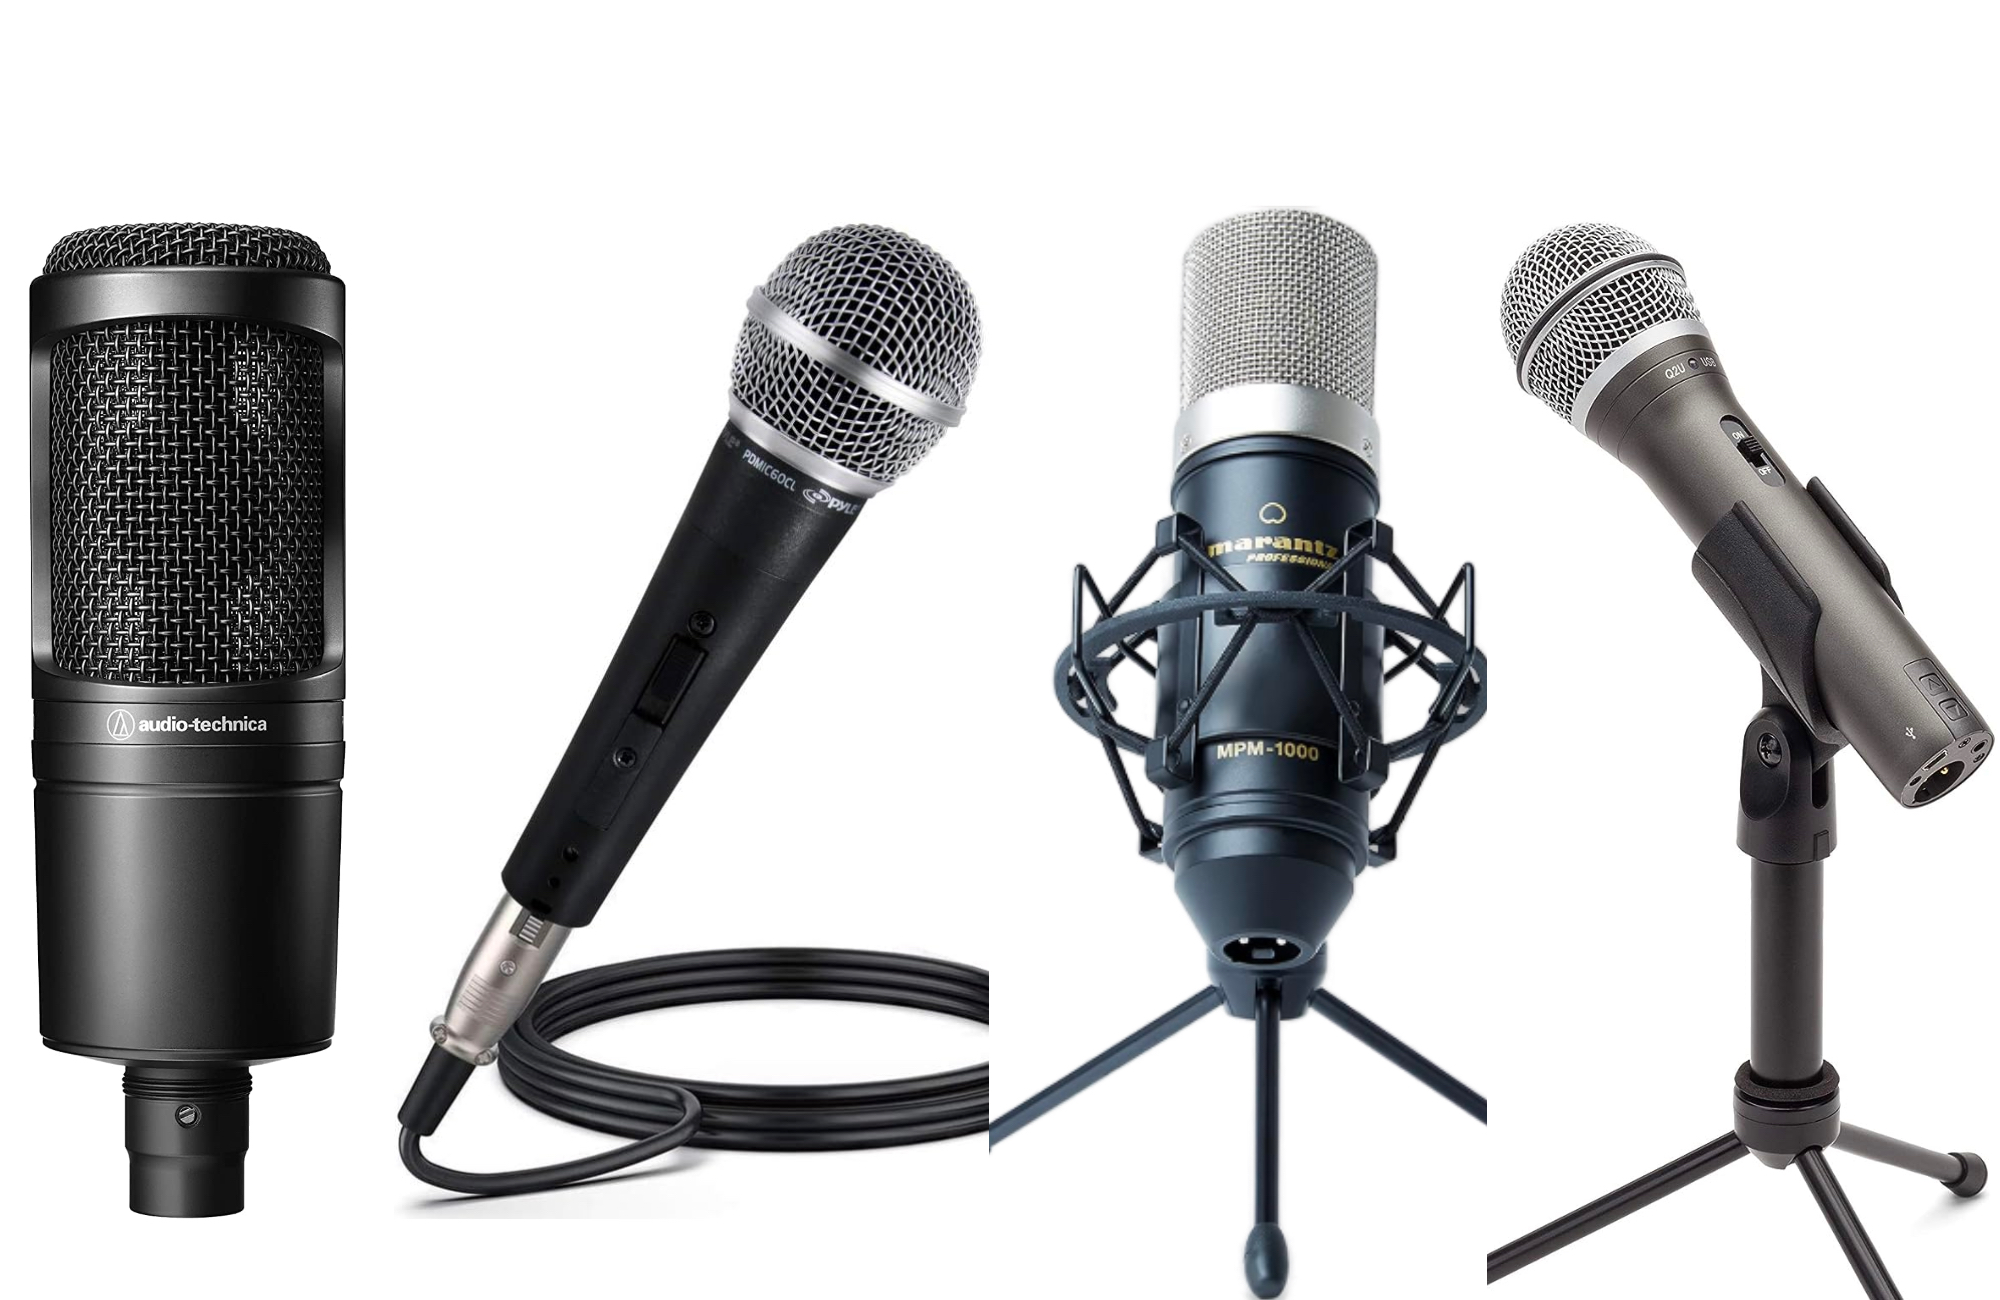
- Pros: Professional quality, customizable with audio interfaces, upgradeable
- Cons: Requires additional equipment (audio interface), more complex setup
- Best for: Professional streamers, podcasters, music performers
Lavalier (Lapel) Microphones
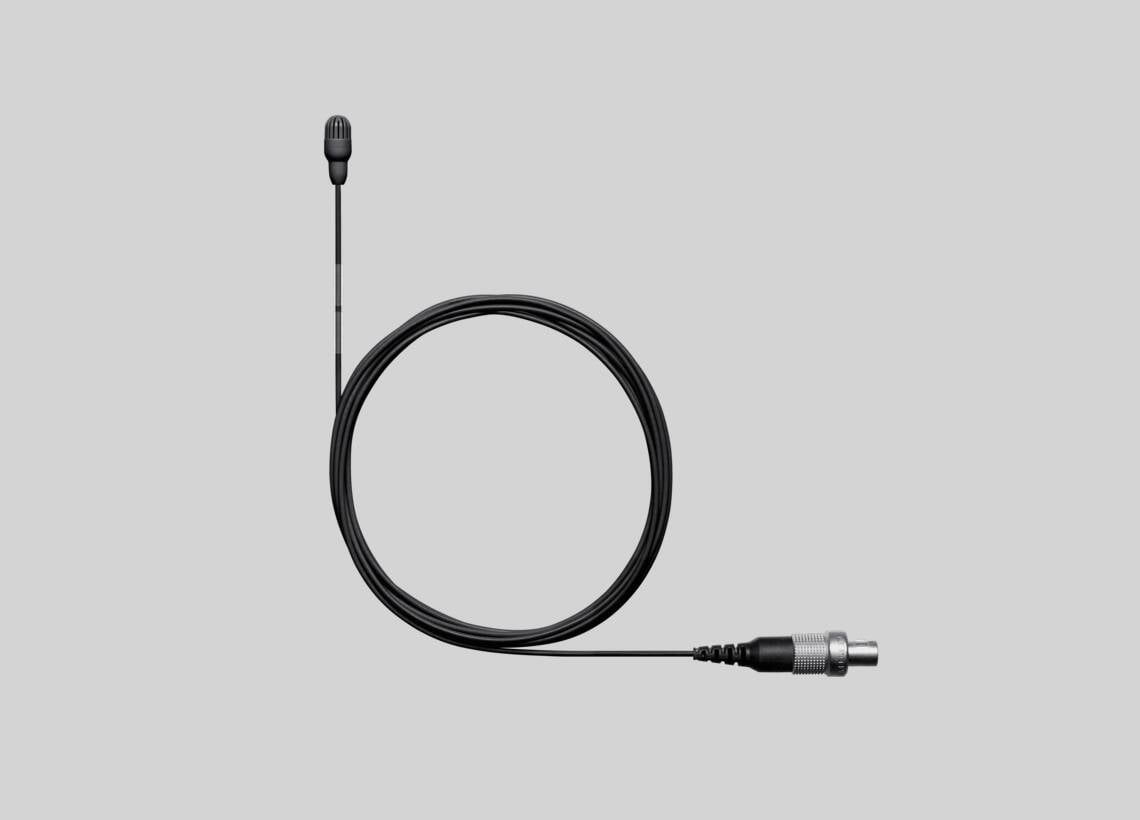
- Pros: Discreet, hands-free operation, can move around while streaming
- Cons: Can pick up clothing rustling, requires careful placement
- Best for: Streamers who move around, tutorial creators, multiple speakers
Shotgun Microphones
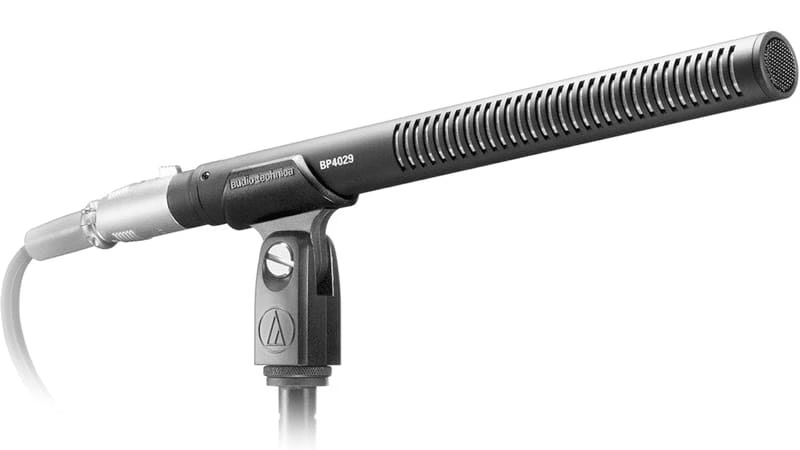
- Pros: Highly directional, minimizes background noise
- Cons: Requires precise positioning, can be visible in the shot
- Best for: Streamers in noisy environments, those who need to reject ambient sound
Dynamic vs. Condenser
- Dynamic: More forgiving in untreated rooms, better for noisy environments
- Condenser: More sensitive, better for capturing nuance in treated spaces
Recommended Microphones for 2025
Budget-Friendly Options ($50-150):
Mid-Range Options ($150-300):
Personal Tip: The Shure MV7 offers incredible flexibility with both USB and XLR connections, allowing you to start simple and upgrade your setup later without replacing your microphone.
Professional Options ($300+):
- Shure SM7B with Cloudlifter and audio interface
- RØDE PodMic with RODECaster Pro II
- Electro-Voice RE20
Ready to sound like a professional creator? Check out these 10 Best Microphones for Voiceover
Microphone Accessories Worth Considering
For your professional live-streaming setup, these accessories can significantly improve your audio quality:
- Pop Filters: Reduce plosive sounds (p, b, t sounds that cause bursts of air)
- Shock Mounts: Isolate the microphone from desk vibrations
- Boom Arms: Position your microphone optimally without taking up desk space
- Acoustic Treatment: Panels or foam to reduce room echo (essential for condenser mics)
- Audio Interface: Necessary for XLR microphones, improves sound quality and provides more control
Lighting: Professional Look for Your Live-streaming Setup
Lighting is often the most overlooked aspect of a professional live-streaming setup, yet it can make the biggest difference in how viewers perceive your stream quality.

Even an average camera with excellent lighting will outperform an expensive camera in poor lighting conditions.
The Three-Point Lighting System
The foundation of professional lighting is the three-point system:
- Key Light: Your primary light source, positioned to the front and slightly to one side of you
- Fill Light: A softer light placed opposite the key light to fill in shadows
- Back Light (or Hair Light): Placed behind you, angled down to create separation from the background
While you can start with just a key light and add more as you grow, understanding this system will help you create a more polished look from the beginning.
Types of Lights for Streaming
Ring Lights
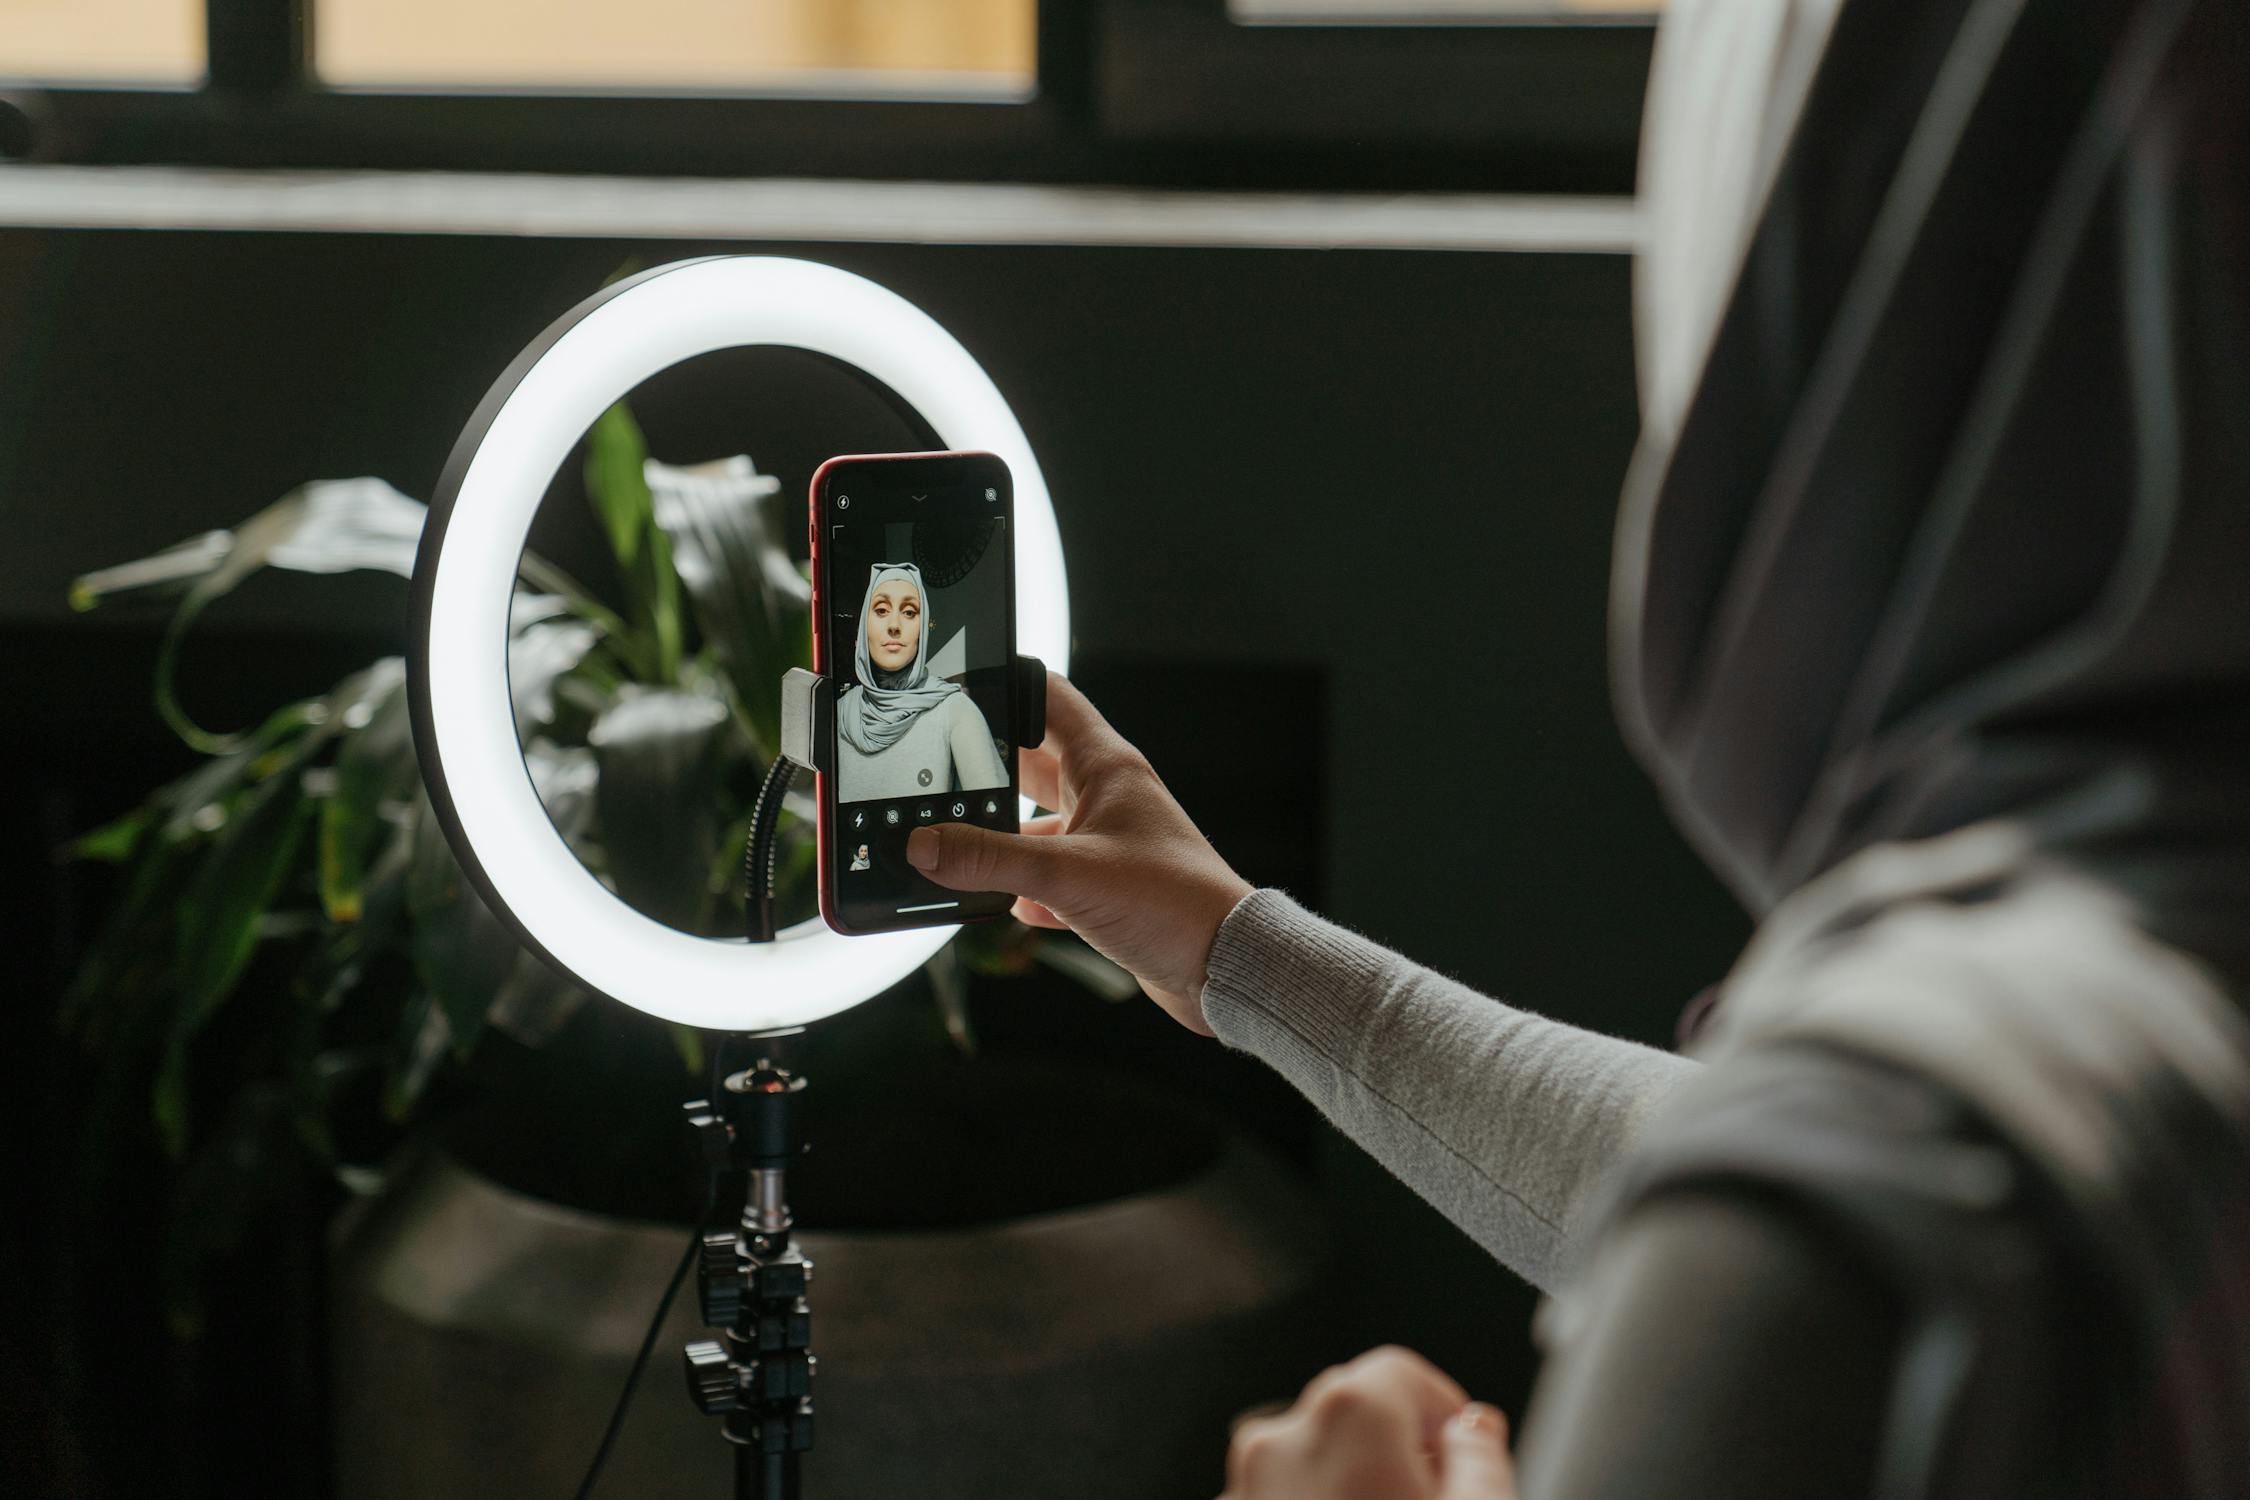
- Pros: Creates even, flattering light; compact; often includes adjustable color temperature
- Cons: Can create ring-shaped catchlights in eyes; limited directional control
- Best for: Beauty content, close-up facial streams, beginners
LED Panels

- Pros: Adjustable brightness and often color temperature; directional; energy efficient
- Cons: Can be harsh without diffusion; quality varies widely
- Best for: Versatile lighting setups, multi-person streams
Softboxes

- Pros: Creates soft, diffused light that’s flattering for skin; minimizes harsh shadows
- Cons: Takes up more space; more setup time required
- Best for: Professional productions, streamers with dedicated spaces
LED Light Strips

- Pros: Creates ambient or accent lighting; adds color and depth to backgrounds
- Cons: Not suitable as primary lighting; can look gimmicky if overused
- Best for: Background enhancement, creating visual interest
Recommended Lighting for 2025
Budget-Friendly Options ($30-100):
Mid-Range Options ($100-300):
Personal Tip: The Elgato Key Light Air integrates with Stream Deck and other Elgato products, allowing you to control brightness and color temperature with hotkeys during your stream—extremely convenient when you need to adjust on the fly!
Professional Options ($300+):
Transform your YouTube appearance with these 10 Best YouTube Lighting Kits for 2025
Lighting Setup Tips for Your Professional Live-streaming Setup
- Position your key light at a 45-degree angle from your face to create natural shadows that define facial features
- Use diffusion (through softboxes or diffuser sheets) to soften light and reduce harsh shadows
- Match color temperatures between lights (measured in Kelvin) for a consistent look
- Eliminate unflattering shadows under the eyes with properly positioned fill lights
- Consider your background lighting to create depth and separation
- Avoid lighting that competes with your key light, like windows or bright lamps in the frame
Capture Cards and Streaming Software
For many streamers, especially those using cameras beyond webcams, a capture card is an essential component of a professional live-streaming setup.
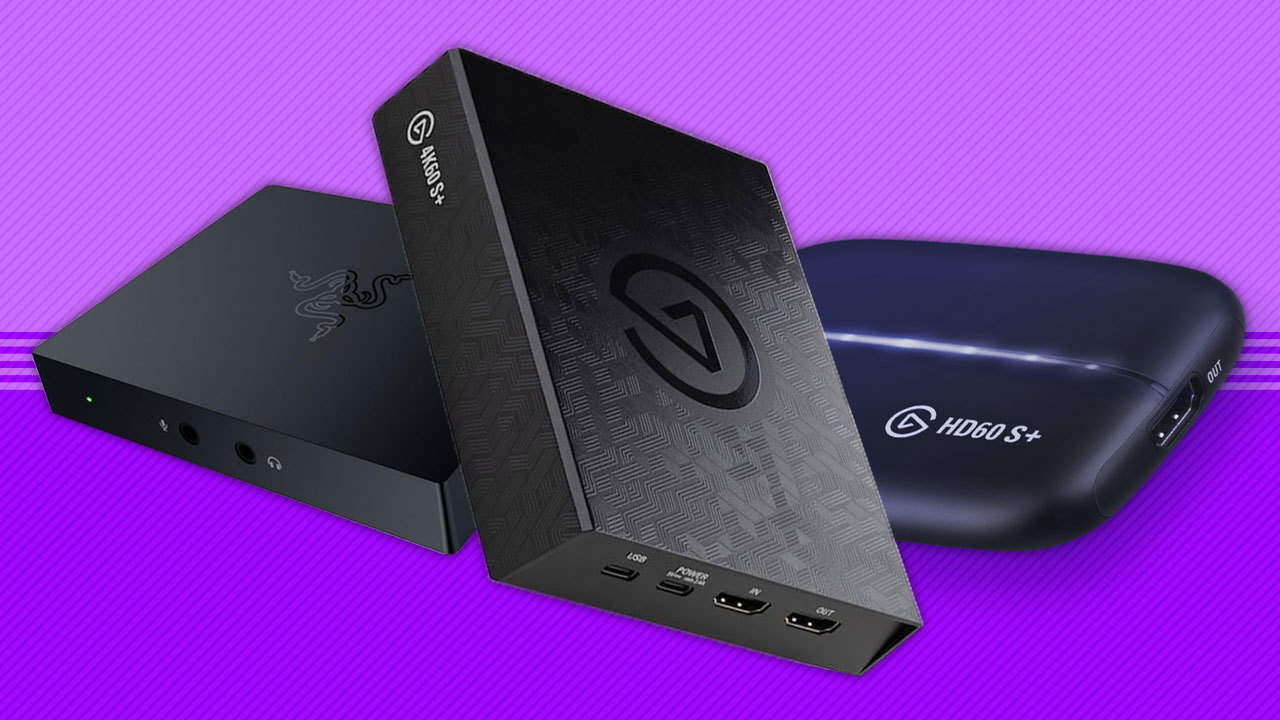
These devices act as bridges between your camera and computer, converting video signals into a format your streaming software can use.
Do You Need a Capture Card?
You likely need a capture card if:
- You’re using a DSLR, mirrorless, or another dedicated camera
- You want to capture gameplay from a console
- You need to incorporate multiple video sources into your stream
- You want to stream at a higher quality than your computer’s built-in capabilities allow
Recommended Capture Cards for 2025
Budget-Friendly Options ($50-150):
Mid-Range Options ($150-250):
Professional Options ($250+):
Personal Tip: If you plan to stream both PC gaming and console content, consider the Elgato HD60 X. Its versatility makes it a valuable investment that can grow with your streaming career.
Streaming Software: The Command Center
Streaming software is where everything comes together in your professional live-streaming setup. It allows you to arrange sources, create scenes, add overlays, and control what your viewers see.
Popular Streaming Software Options in 2025
OBS Studio (Open Broadcaster Software)
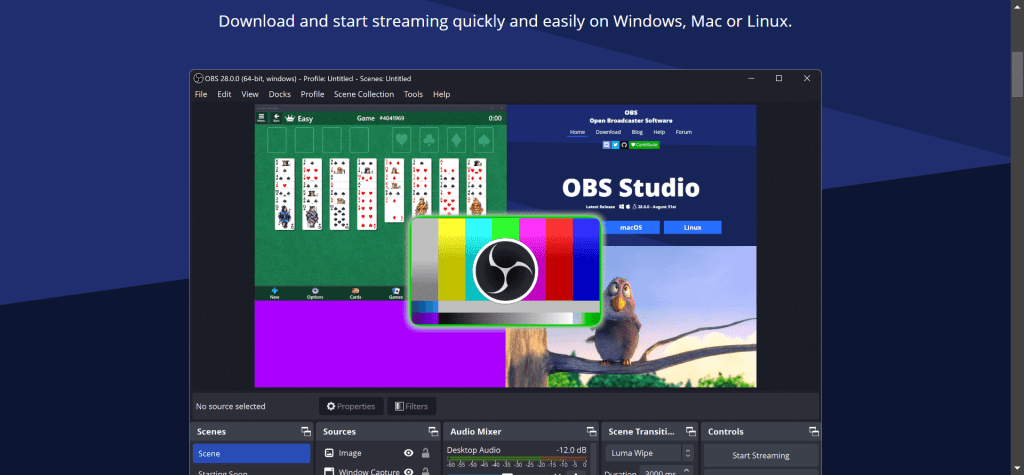
- Pros: Free, open-source, highly customizable, powerful
- Cons: Steeper learning curve, less intuitive interface
- Best for: Streamers who want complete control and customization
- Pros: User-friendly interface, integrated alerts and widgets, built on OBS
- Cons: Can be resource-intensive, some features behind a paywall
- Best for: Beginners who want an all-in-one solution with easier setup
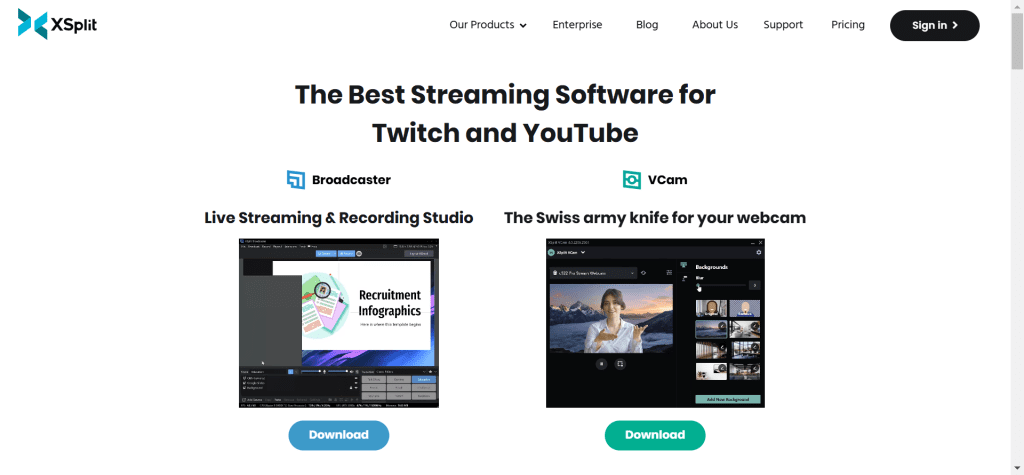
- Pros: Polished interface, good support, powerful features
- Cons: Subscription model for full features, more resource-intensive than OBS
- Best for: Professional streamers who value technical support and ease of use
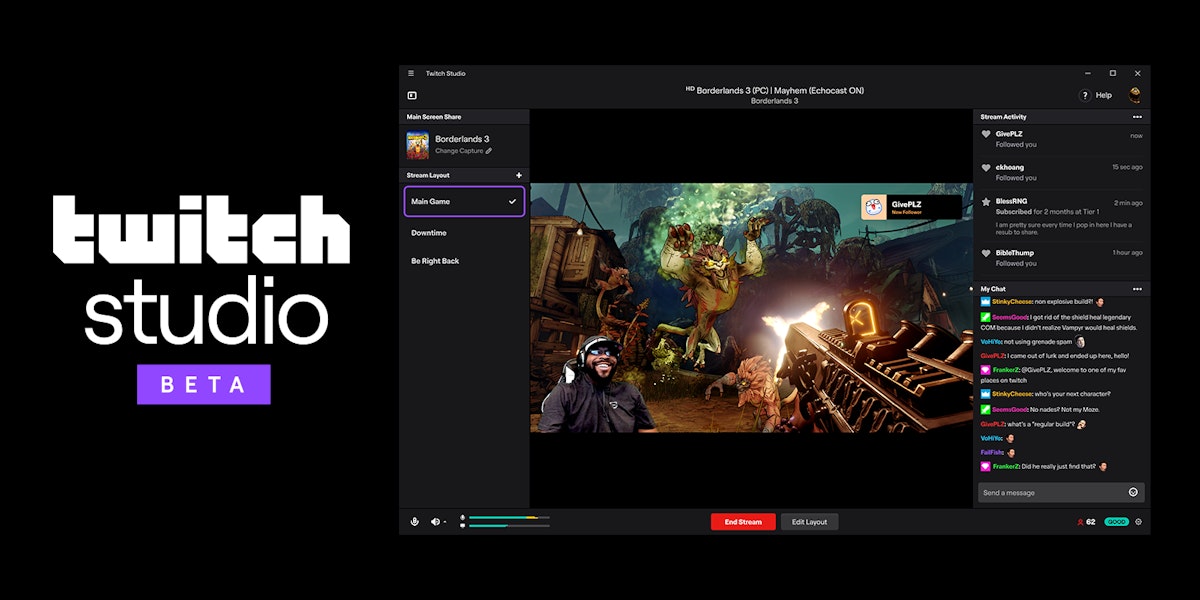
- Pros: Specifically designed for Twitch, easy setup wizards
- Cons: Limited customization, only works with Twitch
- Best for: Twitch-exclusive streamers who want the simplest possible setup
NVIDIA Broadcast (Complementary Software)
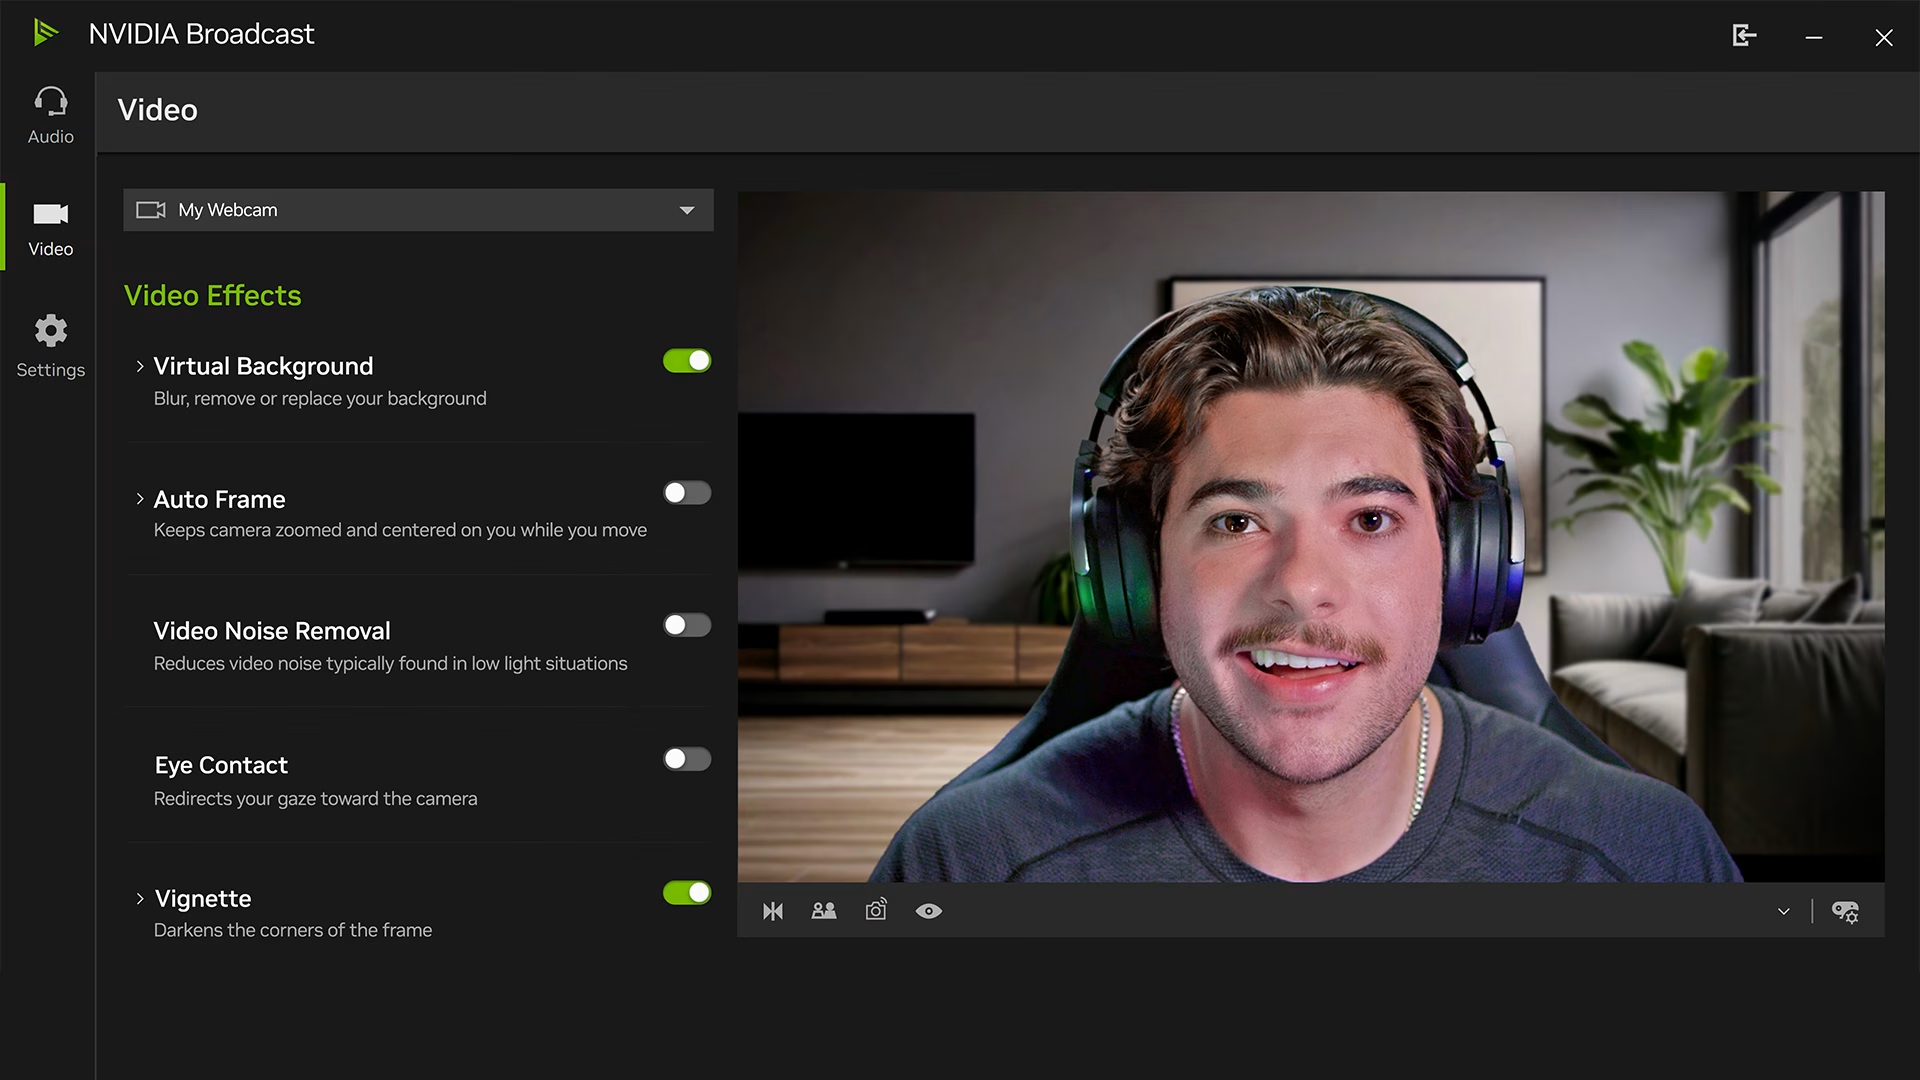
- Pros: AI-powered noise removal, virtual backgrounds without green screens
- Cons: Requires NVIDIA RTX graphics card
- Best for: Enhancing any streaming setup with AI features
Personal Tip: Start with OBS Studio. While it has a steeper learning curve, the skills you develop will transfer to most other streaming software, and you won’t outgrow it as you advance in your streaming career.
Essential Software Features to Look For
- Scene switching: Create different layouts to switch between during your stream
- Source management: Add, remove, and arrange various content sources
- Audio mixing: Control levels for different audio inputs independently
- Lower thirds and overlays: Add professional graphics to your stream
- Green screen (chroma key) support: Remove backgrounds for a cleaner look
- Integration with streaming platforms: Direct streaming to your platform of choice
- Recording capability: Save local copies of your streams for editing and uploading
Setting Up Your Live-streaming Space
Location Selection
This is the foundation. Choosing the right physical space for your professional live-streaming setup is as important as selecting the right equipment.
Your environment affects everything from audio quality to your comfort during long streaming sessions.
Key Considerations When Choosing Your Streaming Location
Space Size and Layout
- Ideal: A medium-sized room with enough space for all your equipment
- Avoid: Cramped spaces where you can’t move or extremely large, echoey rooms
- Tip: You need enough space to comfortably fit your desk, chair, lighting setup, and any additional equipment while still allowing you to move naturally
Background Options
- Ideal: Clean, uncluttered backgrounds that won’t distract viewers
- Avoid: Messy areas, private spaces, or backgrounds with sensitive information
- Tip: Consider a wall that can be customized with relevant décor, shelving with on-brand items, or a green screen for virtual backgrounds
Ambient Noise Levels
- Ideal: Quiet environments away from household traffic
- Avoid: Areas near busy streets, laundry rooms, kitchens, or common areas
- Tip: Test record at different times of day to identify unexpected noise sources like HVAC systems, appliances, or outdoor activities
Lighting Conditions
- Ideal: Spaces where you can control light completely
- Avoid: Rooms with unpredictable natural light or harsh overhead lighting
- Tip: Rooms with minimal windows are easier to light consistently across different times of day
Internet Connectivity
- Ideal: Locations with strong, stable wired internet connection
- Avoid: Areas with poor WiFi signal or far from your router
- Tip: Always use ethernet when possible for your professional live-streaming setup
Soundproofing and Acoustic Treatment Tips
Improving the acoustics of your streaming space doesn’t have to break the bank:
- Soft Furnishings: Add rugs, curtains, and upholstered furniture to absorb sound
- Acoustic Panels: Place on walls where sound reflects, especially behind your microphone
- Bass Traps: Add in corners where low-frequency sound builds up
- Door Seals: Use weather stripping or door sweeps to prevent sound leakage
- Microphone Isolation: Consider a reflection filter that mounts behind your microphone
Personal Tip: Don’t underestimate the impact of a heavy curtain. Hanging thick curtains not only controls light but significantly reduces echo and outside noise—a budget-friendly way to immediately improve your stream’s audio quality.
Arrangement and Design
The physical arrangement of your professional live-streaming setup affects both its functionality and how it appears to viewers.
Taking time to thoughtfully design your space pays dividends in both production quality and streaming comfort.
Camera Angles and Positioning
- Eye Level Camera Placement: Position your camera at or slightly above eye level for the most flattering and engaging angle
- Distance: Typically 2-3 feet from your face works well, allowing viewers to see you clearly without being uncomfortably close
- Rule of Thirds: Position yourself slightly off-center in the frame using the photography “rule of thirds” principle
- Headroom: Leave appropriate space above your head—not too much, not too little
- Multiple Angles: Consider secondary cameras for variety if your content benefits from showing different perspectives
Creating an Appealing Background
Your background communicates your brand and professionalism:
- On-Brand Elements: Include subtle elements that reinforce your streaming identity
- Depth: Create visual layers rather than sitting directly against a flat wall
- Lighting: Consider accent lighting to add dimension and visual interest
- Organization: Ensure any visible items are intentionally placed and organized
- Green Screen: If using a virtual background, ensure even lighting and proper distance (usually 4-6 feet between you and the screen)
Upgrade your streaming background with Philips Hue Play light bars—perfect for creating depth and atmosphere in your stream.
Ergonomics: The Overlooked Element
Comfort is crucial for long streaming sessions:
- Chair: Invest in a proper ergonomic chair with good lumbar support
- Desk Height: Ensure your desk allows proper posture with elbows at approximately 90 degrees
- Monitor Placement: Position monitors at eye level to prevent neck strain
- Keyboard and Mouse: Position for comfortable, neutral wrist positions
- Cable Management: Organize cables not just for aesthetics but to prevent accidents and allow ease of movement
Personal Tip: Build your stream setup with marathon sessions in mind. I learned this the hard way after developing wrist pain from poor ergonomics. Even if you only stream for an hour at a time now, design as though you’ll be there for 8+ hours—your body will thank you as your stream grows.
Equipment Arrangement for Single-Person Streams
For a solo professional live-streaming setup:
- Primary Zone: Your immediate desk area contains:
- Main camera
- Primary microphone
- Key light and fill light
- Main monitor
- Stream deck or control surface
- Secondary Zone: Accessible but not in primary frame:
- Secondary monitors
- Reference materials
- Drinks/snacks (use covered containers!)
- Phone (silenced but visible for emergencies)
- Tertiary Zone: Out of frame but part of your setup:
- Additional lighting
- Backup equipment
- Cable management systems
- Streaming PC (if separate from gaming PC)
Streaming Platforms: Where to Showcase
Choosing the right streaming platform is key to reaching the right audience and growing your brand.
Whether you’re into gaming, education, or lifestyle content, platforms like Twitch, YouTube Live, and Facebook Live each offer unique advantages.
Popular Platforms for Live Streaming in 2025
As we mentioned, the platform you choose for your professional live-streaming setup significantly impacts your discoverability, audience growth potential, and monetization options.
Each platform has its own culture, audience demographics, and technical considerations.
Twitch
Audience: Primarily gaming-focused but expanding into other categories like Music, Just Chatting, and Creatives.
Pros:
- Largest dedicated live-streaming platform
- Strong community features and engagement tools
- Well-established monetization pathways (Subscriptions, Bits, Ads)
- Robust discoverability for growing creators
Cons:
- Highly competitive space
- More complex requirements for monetization eligibility
- Limited VOD (video-on-demand) retention
- Primarily gaming audience, though this is evolving
Technical Requirements:
- Recommended: 720p at 60fps or 1080p at 30fps
- Bitrate: 4000-6000 Kbps
- Reliable low-latency streaming
Personal Tip: Twitch’s category system can work in your favor if you find an underserved niche. Look for categories with decent viewership but fewer big streamers dominating the top spots.
YouTube Live

Audience: Broad, diverse audience across all content categories
Pros:
- Integration with YouTube’s massive existing audience and SEO
- Unlimited VOD storage and automatic archiving
- Multiple monetization options (Ads, Super Chats, Memberships)
- Strong mobile viewing experience
Cons:
- Live content can get lost among video content
- Chat and community features are less robust than Twitch
- Discoverability can be challenging for smaller creators
- More stringent content policies
Technical Requirements:
- Supports up to 4K streaming at 60fps
- Recommended bitrate: 4000-9000 Kbps
- Adaptive bitrate delivery for viewers
Facebook Gaming

Audience: More casual viewers, often with personal connections
Pros:
- Easy sharing within existing social networks
- Built-in audience of Facebook users
- Integrated with Facebook’s advertising platform
- Stars system for monetization
Cons:
- Less dedicated gaming/streaming audience
- More limited streamer-focused features
- Privacy concerns for some users
- Challenging to grow outside your network
Technical Requirements:
- Recommended: 720p at 30fps or 1080p at 30fps
- Bitrate: 4000-6000 Kbps
- Less technical overhead than in other platforms
TikTok Live

Audience: Younger demographics, short-form content consumers
Pros:
- Rapidly growing platform with strong algorithm-based discovery
- Gift-based monetization system
- Integration with TikTok’s short-form content
- Lower barrier to entry for new streamers
Cons:
- Limited streaming features compared to dedicated platforms
- Primarily mobile-focused
- Less structured community building
- Shorter viewer attention spans
Technical Requirements:
- Primarily mobile-based streaming
- Lower resolution requirements (540p-720p)
- More forgiving of bandwidth limitations
Instagram Live

Audience: Lifestyle, beauty, fitness, and brand-focused viewers
Pros:
- Easy integration with existing Instagram audience
- Strong mobile experience
- Good for occasional streams rather than a dedicated schedule
- Shopping features for product-based content
Cons:
- Limited stream length
- Fewer professional streaming features
- Primarily vertical video format
- Less suitable for gaming content
Technical Requirements:
- Mobile-focused, though desktop streaming is now supported
- Vertical video preferred (9:16 aspect ratio)
- Lower technical requirements overall
Not sure which platform is right for you? Try Restream.io to broadcast to multiple platforms simultaneously while you build your audience. Check out their plans here!
Multi-Streaming: Expanding the Reach
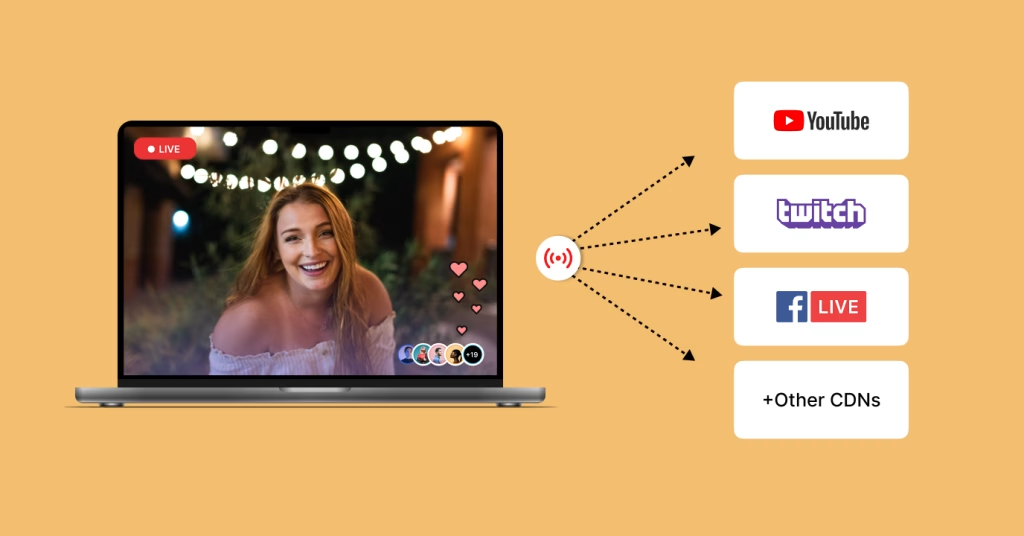
Multi-streaming (or simulcasting) allows you to broadcast to multiple platforms simultaneously, maximizing your reach and helping you determine which platform best suits your content and audience.
Benefits of Multi-Streaming
- Wider Audience Reach: Tap into different viewer demographics across platforms
- Faster Growth: Increase your chances of being discovered by new viewers
- Platform Testing: Gather data on where your content performs best
- Audience Consolidation: Direct viewers from smaller platforms to your main platform over time
- Increased Monetization Opportunities: Access revenue streams from multiple platforms
Multi-Streaming Tools for Your Professional Live-streaming Setup
- Features: Stream to 30+ platforms, cloud-based, chat integration
- Pros: User-friendly, reliable, doesn’t require additional hardware
- Cons: The free tier has limitations, and paid tiers can be costly for smaller streamers
- Features: Integrated with Streamlabs OBS, unified chat
- Pros: Easy setup if already using Streamlabs, good performance
- Cons: Limited platform options, requires Streamlabs Prime subscription
- Features: Multi-streaming, overlays, alerts, emotes
- Pros: All-in-one solution with branding elements
- Cons: Subscription-based, may be overkill for streaming-only needs
Hardware Solutions
- Products: Devices like LiveU Solo, BoxCaster
- Pros: Reliable, dedicated hardware, less strain on your computer
- Cons: Expensive, requires additional setup and maintenance
Personal Tip: Start with a free Restream account to test multi-streaming. Once you identify which 2-3 platforms perform best for your content, consider upgrading to a paid tier or focusing on those platforms individually for better quality.
Important Considerations for Multi-Streaming
- Internet Requirements: You’ll need significantly more upload bandwidth
- Chat Management: Monitoring multiple platform chats can be challenging
- Quality vs. Quantity: Multiple streams may require lowering quality settings
- Consistent Branding: Ensure uniform presentation across platforms
- Platform Rules: Some platforms (particularly Twitch if you’re an affiliate) have exclusivity clauses
Post-Stream Considerations
The work doesn’t stop when you hit “End Stream.” Post-stream actions are crucial for building engagement, improving your content, and growing your audience.
Engagement with Audience
Building a loyal community is essential for long-term streaming success. Your professional live-streaming setup provides the technical foundation, but your engagement strategies determine whether viewers return.
During-Stream Engagement Strategies
Chat Interaction
- Acknowledge viewers by name when appropriate
- Ask questions to encourage participation
- Create regular segments that invite audience input
- Consider a second monitor dedicated to viewing chat
Interactive Elements
- Polls: Quick audience opinion surveys on relevant topics
- Channel Points: Custom reward systems on platforms that support them
- Extensions/Overlays: Implement tools that allow direct viewer interaction
- Stream Deck Integration: Set up buttons for sound effects, animations, or other interactive elements
Moderation
- Establish clear channel rules
- Appoint trusted moderators as your community grows
- Use automated tools to filter inappropriate content
- Create a welcoming environment for new viewers
Personal Tip: Even when you have few viewers, narrate your thought process and respond as if people are actively chatting. This practice not only makes your VODs more engaging but prepares you for larger audiences, and makes the few viewers you do have feel valued.
Post-Stream Engagement Tactics
Engagement shouldn’t end when your stream does:
- Community Platforms
- Discord server for ongoing conversation
- Subreddit for content sharing and discussion
- Social media groups for updates and highlights
- Content Repurposing
- Create highlight videos from streams
- Share clips on social platforms
- Develop blogs or newsletters based on stream topics
- Feedback Loops
- Post-stream surveys for specific feedback
- Review comments on VODs
- Track which segments generated the most engagement
Build a thriving Discord community with MEE6 Premium—the perfect companion to your professional live stream. Click here to explore features!
Analyzing Performance: Measuring the Success
Data analysis helps you refine both your professional live-streaming setup and your content strategy.

Modern streaming platforms and third-party tools provide extensive metrics to guide your improvement.
Key Metrics to Track
Viewership Metrics
- Peak Concurrent Viewers: Highest number of simultaneous viewers
- Average Viewers: Typical audience size throughout your stream
- Watch Time: Total hours watched by all viewers
- Retention: How long viewers typically stay watching
Engagement Metrics
- Chat Activity: Messages per minute/hour
- Participation Rate: Percentage of viewers who chat
- Follower/Subscriber Growth: New community members gained
- Clip Creation: Number of clips created by viewers
Technical Performance
- Stream Health: Dropped frames, bandwidth issues
- Quality Feedback: Viewer comments about audio/video quality
- Device Breakdown: What devices viewers are watching on
- Resolution Stats: What quality settings viewers are using
Analytics Tools for Streamers
Platform Native Analytics
- Twitch Analytics/Creator Dashboard
- YouTube Studio
- Facebook Creator Studio
- TikTok Analytics
Third-Party Analytics Tools
- Streamlabs Analytics: Comprehensive metrics with audience insights
- Stream Elements: Detailed performance tracking and overlays
- SullyGnome: In-depth Twitch analytics and competitor research
- Social Blade: Cross-platform growth tracking
Custom Tracking
- Google Analytics for linked websites
- UTM parameters for campaign tracking
- Custom bots for chat analysis
Personal Tip: Don’t get obsessed with numbers early on. Set realistic milestone goals based on percentages (e.g., “increase average viewers by 15% this month”) rather than absolute numbers that might be discouraging.
Improving for Next Time: Evolving Your Setup
Every stream is an opportunity to refine your professional live-streaming setup and content approach. Continuous improvement keeps your content fresh and your technical quality advancing.
Technical Improvements
Audio Quality Enhancements
- Review stream recordings to identify audio issues
- Adjust microphone placement and settings
- Consider acoustic improvements to your space
- Implement noise reduction tools if needed
Visual Upgrades
- Refine lighting setup to eliminate shadows or hotspots
- Update scene transitions and overlays
- Improve camera settings based on feedback
- Consider new background elements or layouts
Performance Optimization
- Monitor CPU/GPU usage during streams
- Optimize encoding settings for better quality/performance balance
- Update drivers and software regularly
- Consider hardware upgrades for specific bottlenecks
Content Refinement
Content Structure
- Analyze which segments perform best
- Develop a tighter show format with clear sections
- Time your segments to maintain pacing
- Create templates for recurring content elements
Presentation Skills
- Review your on-camera presence and speaking patterns
- Work on eliminating filler words and extended pauses
- Practice looking at the camera more consistently
- Develop your unique broadcasting voice and style
Collaboration Opportunities
- Identify potential guests or co-hosts
- Plan cross-promotion with complementary creators
- Participate in relevant events or challenges
- Join creator communities in your niche
Personal Tip: Record yourself watching your stream with your reactions. This exercise, while sometimes uncomfortable, provides invaluable insights into how viewers experience your content and identifies improvement areas you might miss otherwise.
Final Thoughts
Whew, it’s a wrap! Creating a professional live-streaming setup takes time, but with the right tools and strategies, you can deliver high-quality streams that engage and grow your audience.
Start with the essentials, optimize as you go, and don’t be afraid to experiment. The key to success is consistency, engagement, and constant improvement.
Now, it’s time to go live—test your setup, connect with your audience, and start streaming with confidence!
FAQs
1. What is the ideal budget for a professional live-streaming setup?
The cost of a professional live-streaming setup varies based on your needs. A basic setup with a webcam, USB microphone, and lighting can cost $200–$500, while a high-end setup with a DSLR/mirrorless camera, XLR mic, and capture card can range from $1,500–$5,000. Start small and upgrade as needed.
2. How can I improve my internet connection for better streaming quality?
A stable connection is crucial for high-quality streaming. To enhance performance:
- Use a wired Ethernet connection instead of Wi-Fi.
- Aim for upload speeds of at least 6 Mbps for 1080p and 10+ Mbps for 4K.
- Upgrade to fiber-optic internet if available.
- Adjust router settings for low latency and high bandwidth.
3. What are common mistakes to avoid when starting live streaming?
New streamers often make these mistakes:
- Ignoring audio quality – Poor sound can drive viewers away.
- Skipping test streams – Always test your setup before going live.
- Overloading overlays – Keep your visuals clean and professional.
- Not engaging with viewers – Interaction builds audience loyalty.
4. What are the best streaming platforms in 2025?
Top live-streaming platforms include:
- Twitch – Best for gaming and interactive streams.
- YouTube Live – Great for long-form and educational content.
- Facebook Live – Ideal for community-based engagement.
- Kick & Rumble – Emerging platforms with monetization opportunities.
- TikTok Live – Best for short-form, viral engagement.
5. How can I promote my live streams effectively?
To grow your audience:
- Announce your stream on social media and forums.
- Create highlight clips for TikTok, Instagram Reels, and YouTube Shorts.
- Engage with other streamers to cross-promote.
- Optimize stream titles, tags, and descriptions for SEO.
6. What software should I use for live streaming?
Popular streaming software includes:
- OBS Studio – Free and highly customizable.
- Streamlabs OBS – User-friendly with built-in overlays.
- XSplit – Great for professional-quality production.
- Restream – Best for multi-streaming to different platforms.
7. What accessories should I consider for a polished setup?
For a professional look, consider:
- Green screen for virtual backgrounds.
- Boom arm for microphone positioning.
- Stream deck for quick controls.
- Acoustic panels to reduce noise.
- Dual monitors for better workflow.
8. How can I make my stream more engaging?
Boost audience engagement by:
- Interacting in real-time through chat and Q&A.
- Using alerts & overlays for donations and subs.
- Adding music & sound effects for a dynamic feel.
- Running polls & giveaways to keep viewers involved.
9. How do I monetize my live streams?
Ways to earn from live streaming:
- Ad revenue (YouTube, Twitch).
- Subscriptions & memberships.
- Donations & tips (via PayPal, Patreon, Ko-fi).
- Sponsorships & brand deals.
- Affiliate marketing & merch sales.
10. How do I ensure my streams run smoothly?
For a seamless stream, follow these tips:
- Use a UPS (Uninterruptible Power Supply) to prevent power loss issues.
- Test your equipment before going live.
- Monitor CPU & bandwidth usage to avoid lag.
- Keep backup gear (mics, cables, batteries).

